 By John Perkins and Jimmy Lewis
At Dirt Bike Test we try and assume very little. We’ve praised Beta’s performance from the beginning but really had limited time on the bikes till this year where we rode the wheels off a 2017 300RR. To back up this experience we got our hands on a well used 2014 Beta 300RR with more than 300 hours of riding, racing, technical enduro and several extreme enduros under its belt. Needless to say this Beta had seen better days. One owner, mostly proper care and a whole lot of regular rider abuse. This bike was in need of a rebuild.
Over its life the top end was replaced twice and the suspension serviced regularly by Pro Action with fork seals being a regular replaceable item. This Beta has an appetite for shift shaft, countershaft seals and the plastic was more brittle than other brands especially the earlier plastic which has seemed to have improved.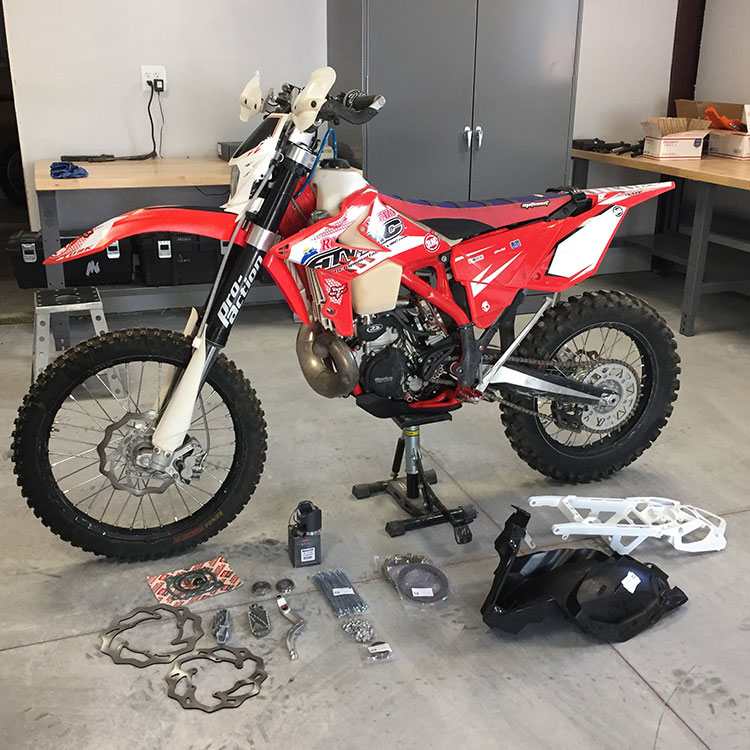
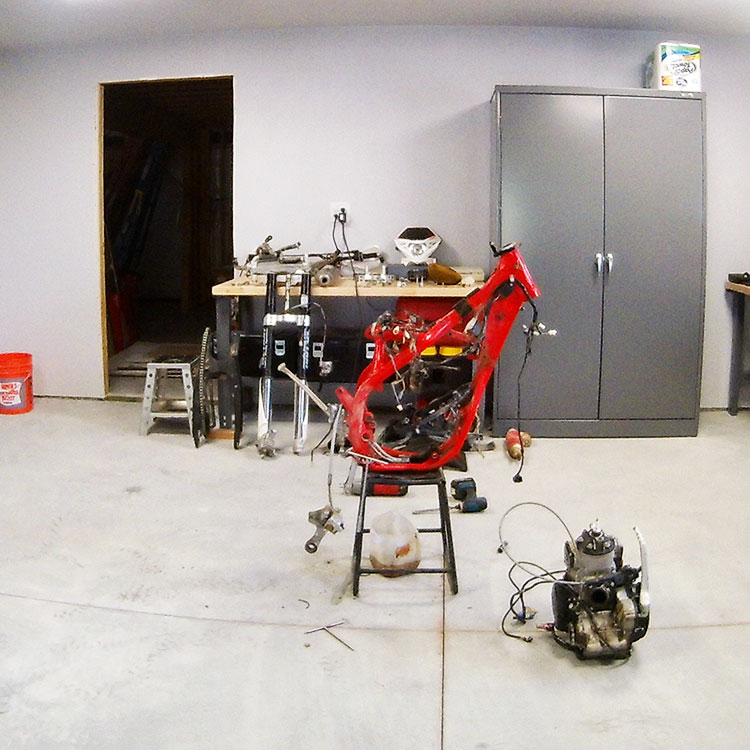
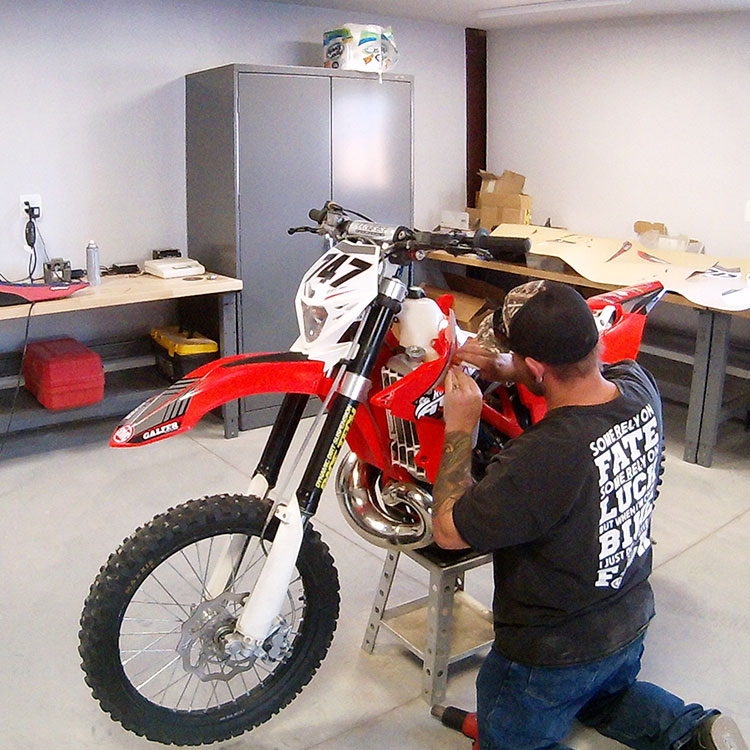
Starting off we cleaned the bike up just to evaluate everything that needed to be addressed. We choose to approach this build as a realistic project, not a five-star magazine bling rebuild. No paid employees and no boxes of anodized bolt on parts. We wanted to focus on making the bike like new, not covering old to “look” new.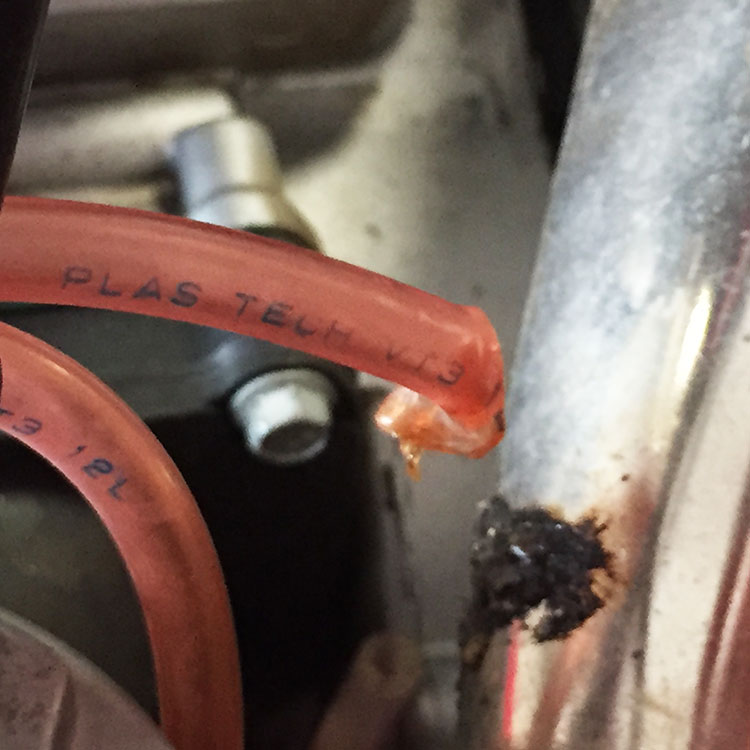
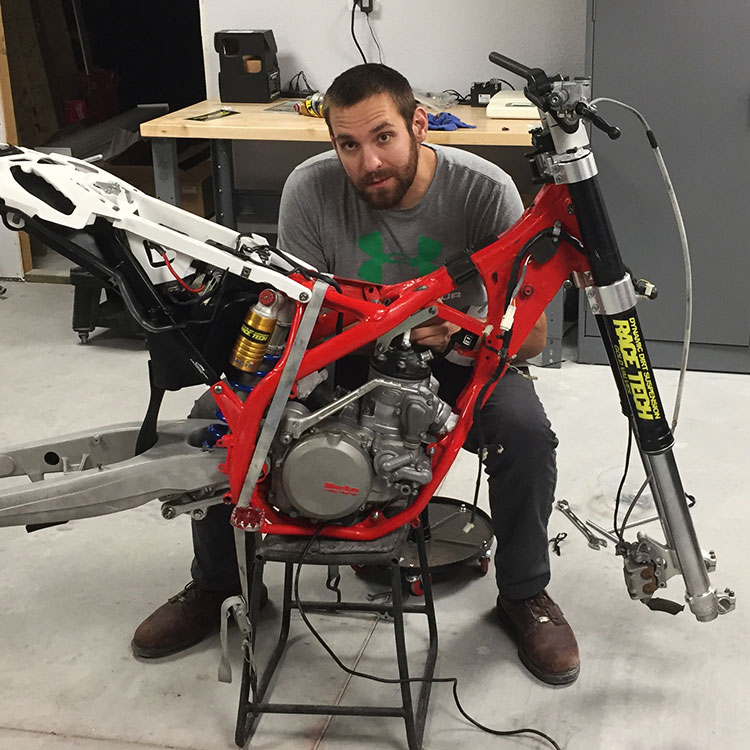
Our first step was to get the bike cleaned up and tore down. Underneath the scratches we found– to our surprise–a relatively healthy bike. The motor was worn but was in no way getting ready to stop. Then the list grew. The bearings in the steering neck had been introduced to water as well as the linkage and swingarm bearings. Worn out foot pegs and pins, a broken subframe (did we mention the rider is not a pound short of 235), airbox, dented frame and a slew of sloppy parts would make this a larger project then expected.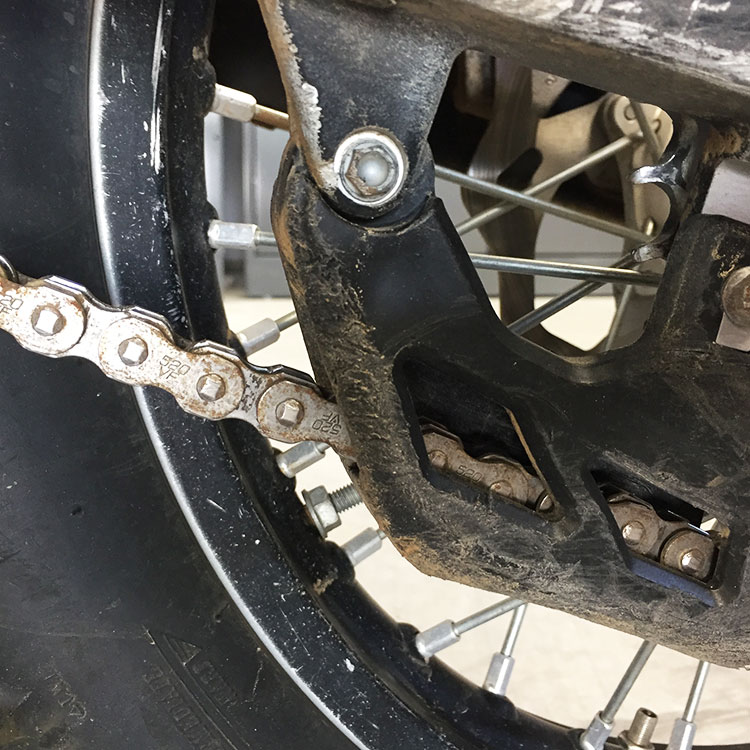
To start the build we first took our box full of motorcycle and begun the cleaning process, this costs no money for anyone on a budget. Lots of hours with a hose, soap and a emery cloth begun to show a shiny bike underneath the grim and scratches. The parts were cleaned one by one as if they were to go on a brand new factory race machine.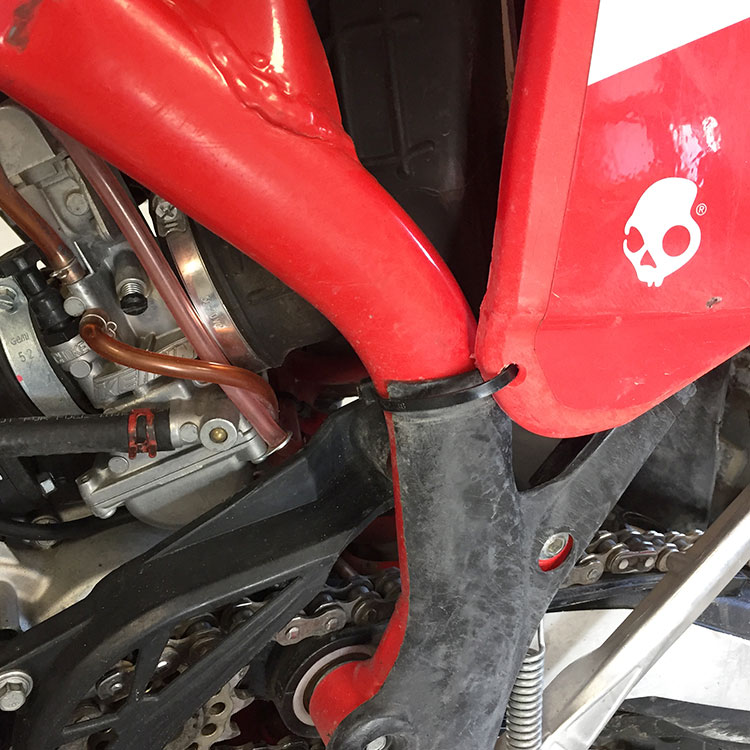
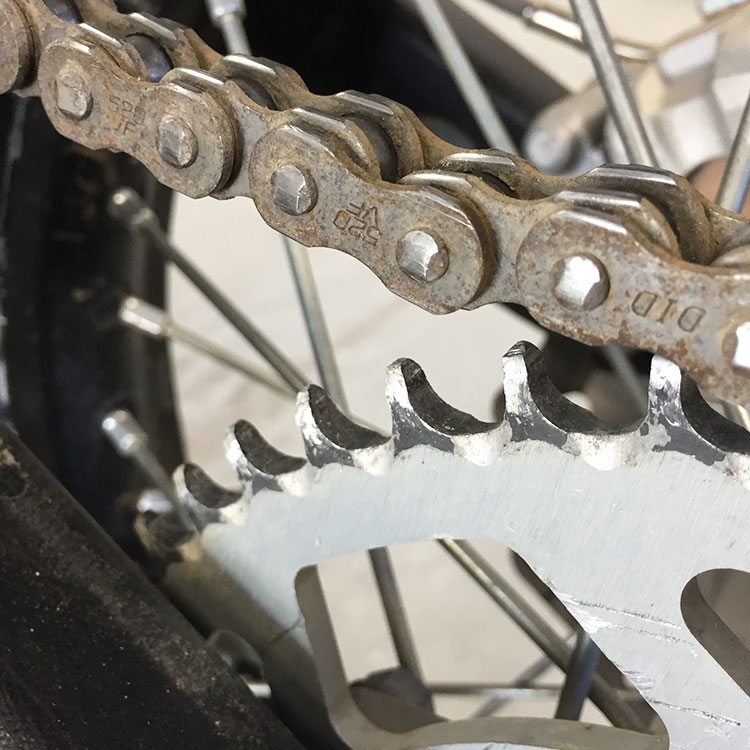
Next step was to get this worn out motor apart and ready for some new components, again we were focused on building a tight and solid motorcycle. The piston had gotten terribly hot but had not seized, the big end bearing was in good shape but he crank main bearings had a slight bit of drag on them. Now to dive into the bottom end, the side cover was pulled to show a black and burnt set of clutch discs, add another part to the list. The case was split to reveal a shiny almost new looking transmission with next to zero wear to be seen. The crank bearings as predicted were in less than desirable condition and it would be smart to get a new set.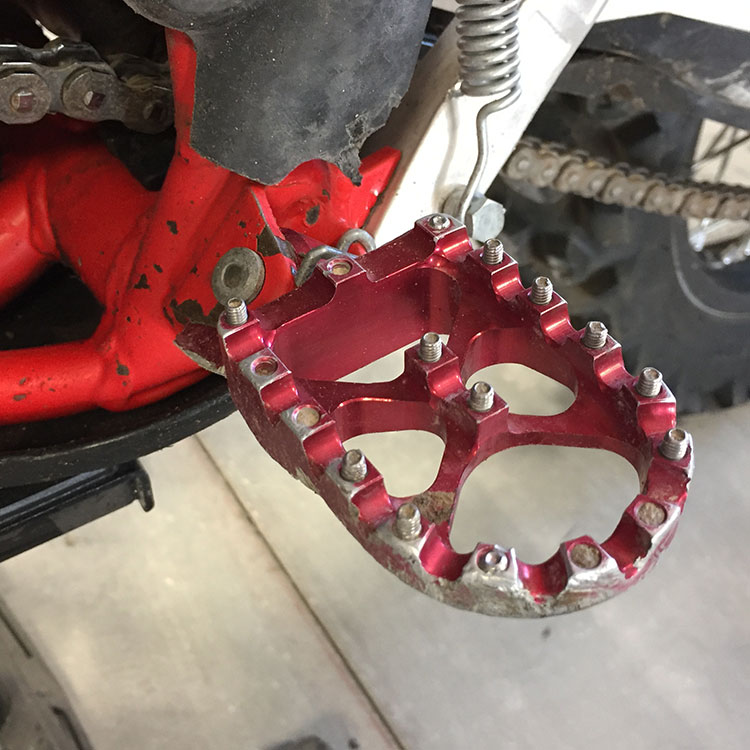
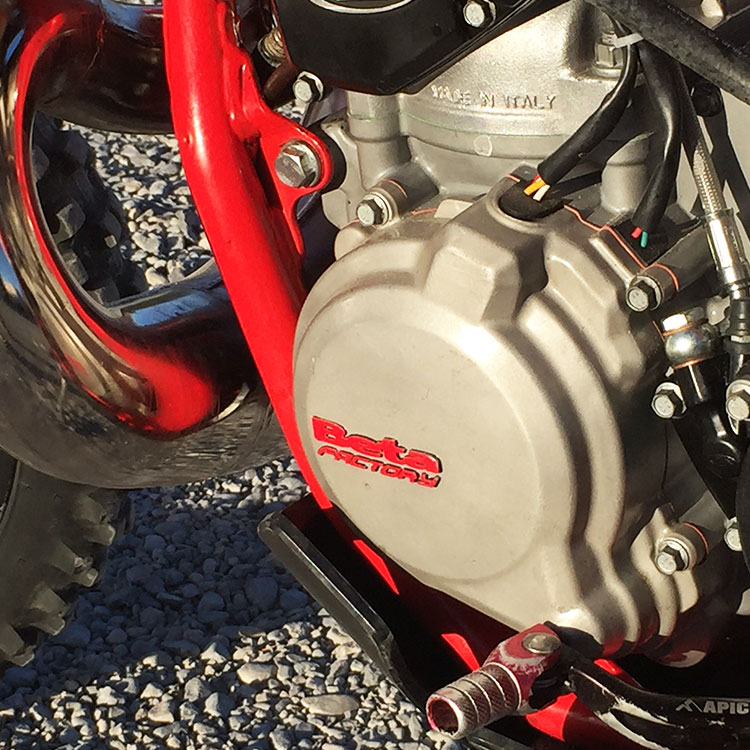
After the motor was fully disassembled it was back to cleaning. The cases would be thoroughly cleaned and then media blasted for a factory aluminum look followed by a high temp clear coat along with the side covers. Each and every part was cleaned and inspected for any abnormal wear. A surprise to say the least the only parts even remotely worn were those mentioned above.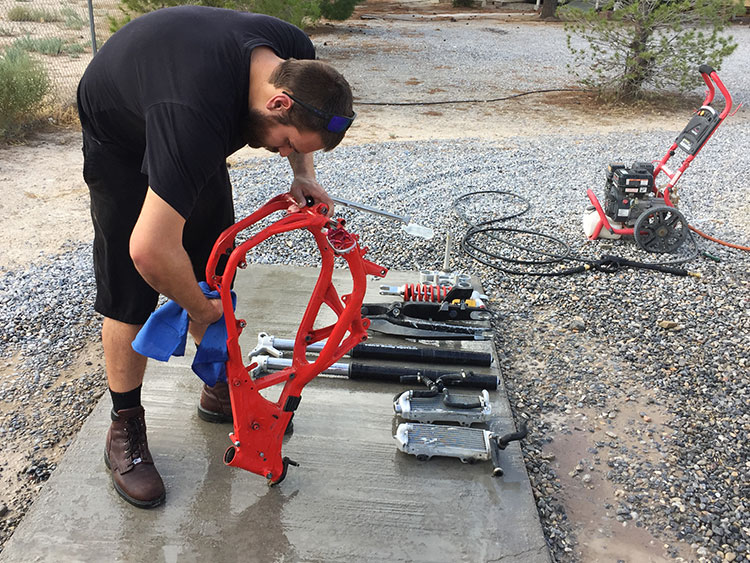
Some riders not totally with Beta as a brand are curious on how parts supply is. Well most engine parts are available only from Beta as a lot of the regular aftermarket is just now getting on with Beta parts, especially internal parts and wear items like bearings. But the parts were all in stock through the distributor and were on their way. Rocky Mountain ATV MC also supported us in this project with the stuff they carried and through this process they expanded and sorted and added some Beta parts to their inventory. Things like plastics and some of the suspension bearings specifically.

As we waited for motor parts to arrive to finish the assembly of the engine we begun to assemble the chassis. The neck bearings and races were pressed out and replaced with genuine Beta parts and we were on our way to getting the bike back together. Next on the list was to assemble the swingarm and linkage system, with a small work stand we needed to get the bike balanced in order to work on it efficiently. The swingarm bearings would be in good shape and only need a good cleaning and regreasing, the linkage bearings were worse for wear however. They received a new All Balls Racing linkage bearing kit and the back half was off to a good start.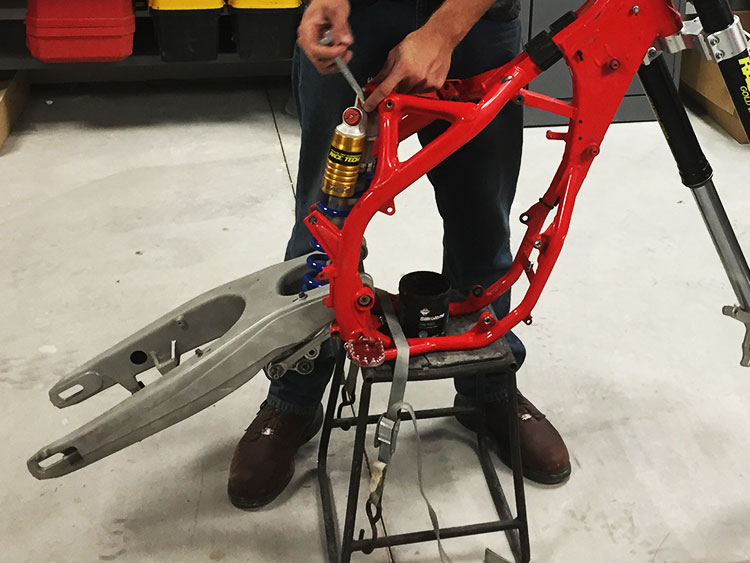
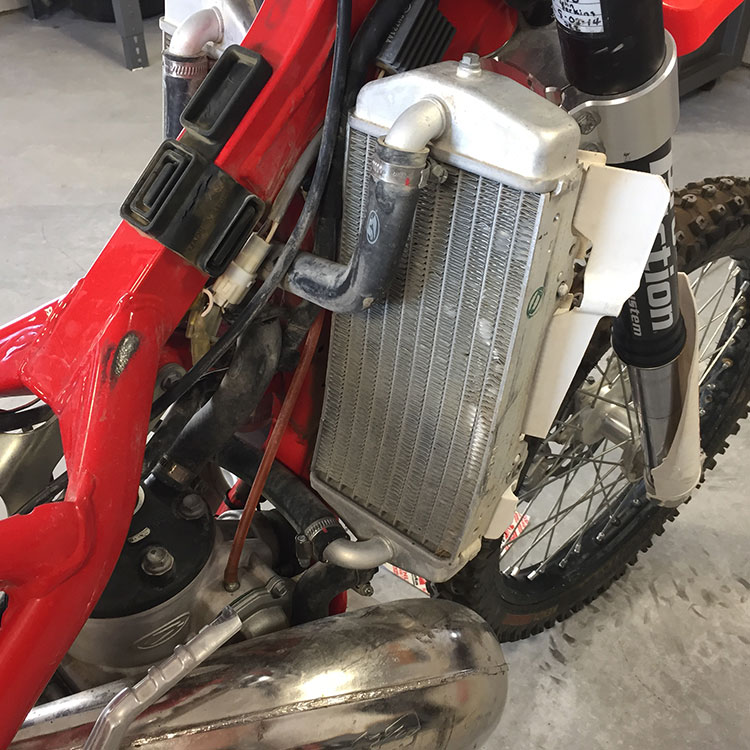
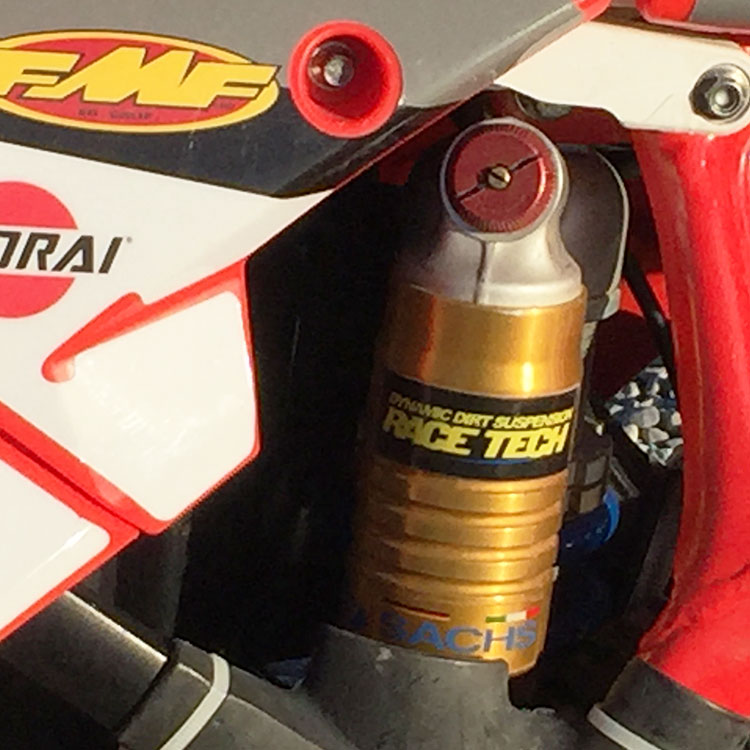
The time was finally here to put the suspension on that was provided by Sportsman Cycle and Dynamic Dirt Suspensions. They would be stock forks and shock but with Racetech’s proven Gold Valve system.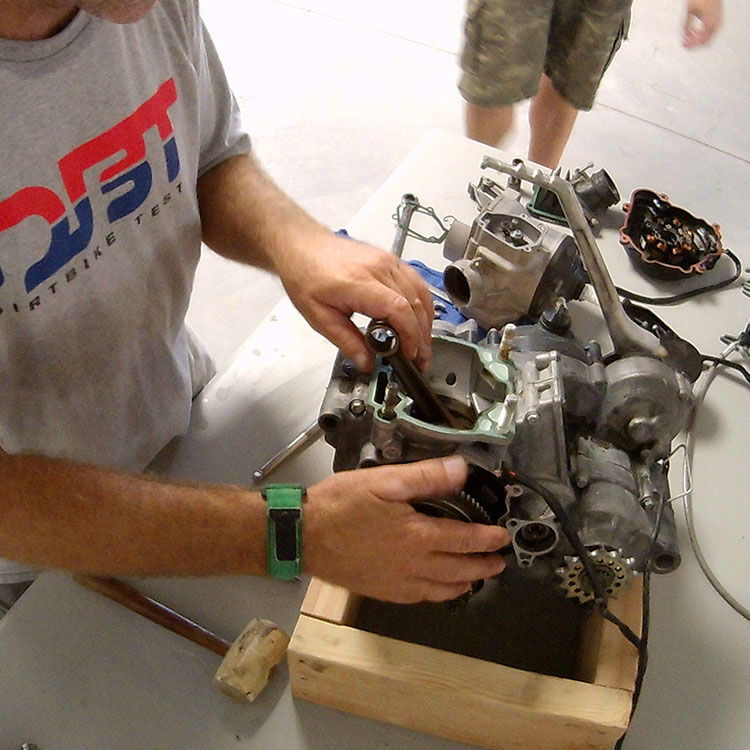
Having never split the cases and seen the deep insides of a Beta it looks very similar to a KTM and we’re sure there are plenty of common suppliers of internal parts. Not to mention the shared designs of the two-stroke engines in architecture. The electric starter is under the engine like the new KTM and the Beta even has a location for a counterbalancer. Assembly was pretty basic except some of the places where Beta uses gaskets or O-rings is unique and some of the assemblies like the water pump are heavier and more complex. There is also the need to space and stack some gaskets on the cylinder and on the power valve assembly so note this stuff when disassembling. Going over the engine we saw the build is very strong and parts are overbuilt if anything.
We shipped our crank off to Competitive Crankshafts, a company we have come to trust from years of pressing cranks and also knowing that quite a few factory supercross and motocross teams trust their services. Now located in Idaho, the turnaround was quick and we knew our crank was pressed properly and balanced.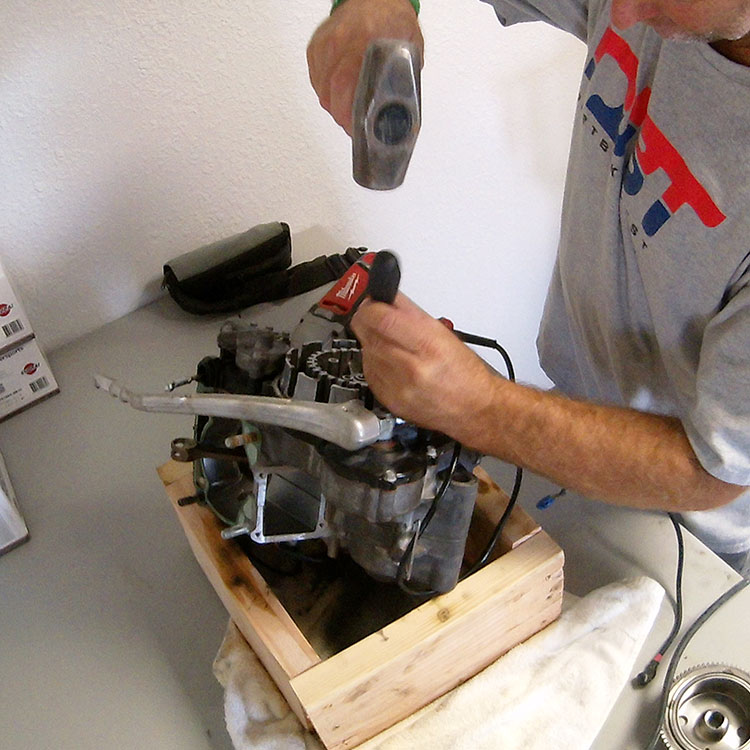
The engine went back together as easy as it came apart with one glitch. We indexed the shifting drum detent star 180-degrees off, an easy mistake if you are not paying attention. Caught after the motor was in the frame, luckily it was just getting back into the side cover and under the clutch to get it lined up correctly.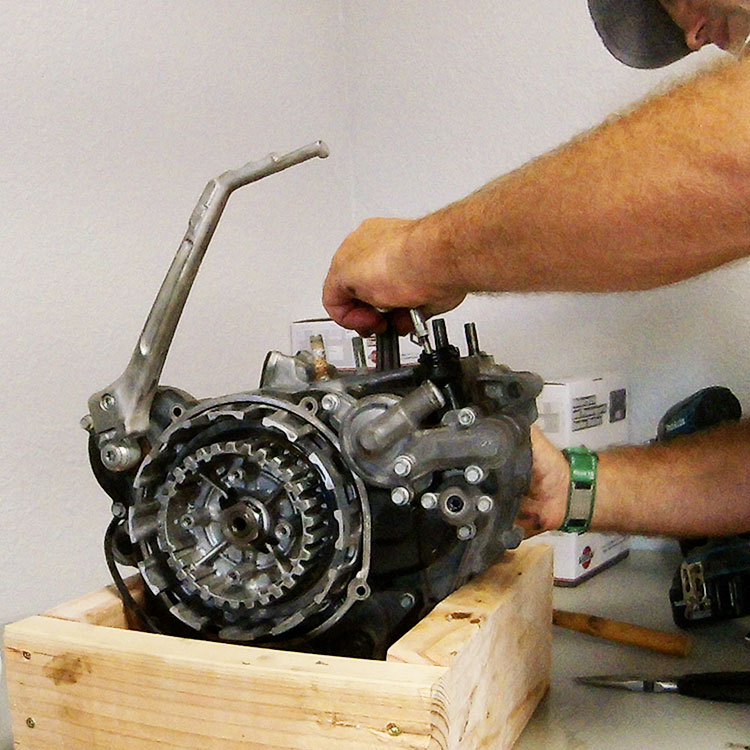
If there is one thing the Beta does have is a lot of wires. Since it has all the attachments for lights and turn signals it is bulky and confusing to route, let alone get plugged back in correctly. For instance you’d think the connectors for the engine and wiring harness would not be able to be connected incorrectly by virtue of different connector couplings–on this bike they are the same. Well at least they are different colors. Which means, yes, we plugged like colors together in effect isolating the motor from the wiring harness. Which seems stupid but it was actually hard to figure out when everything was zip-tied in a very clean routing to the frame. It was the last thing we checked when looking for the missing spark from the ignition.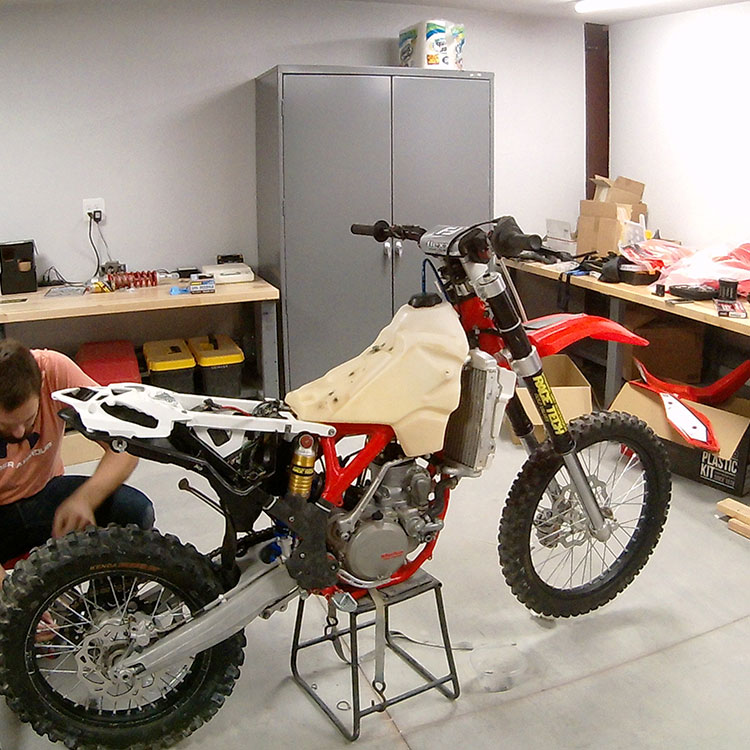
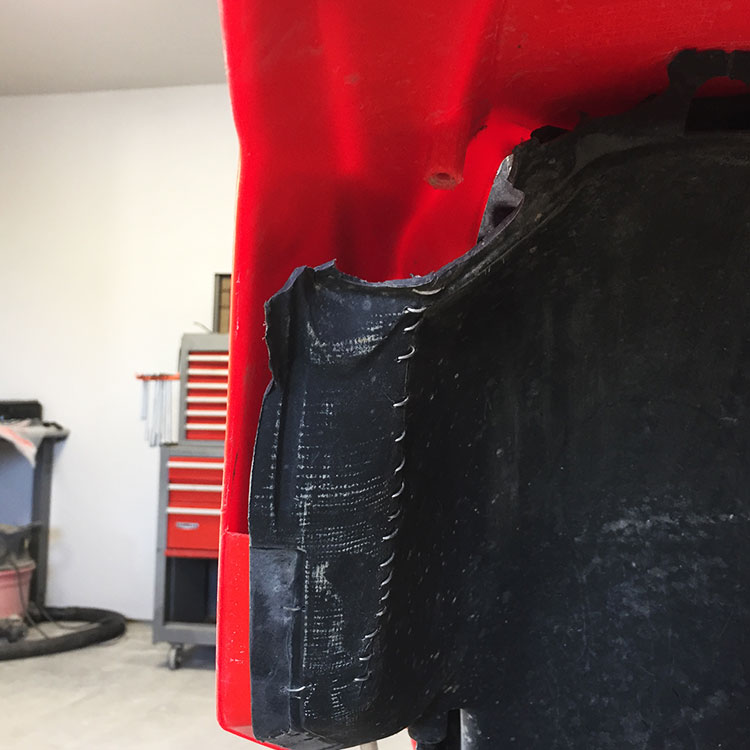
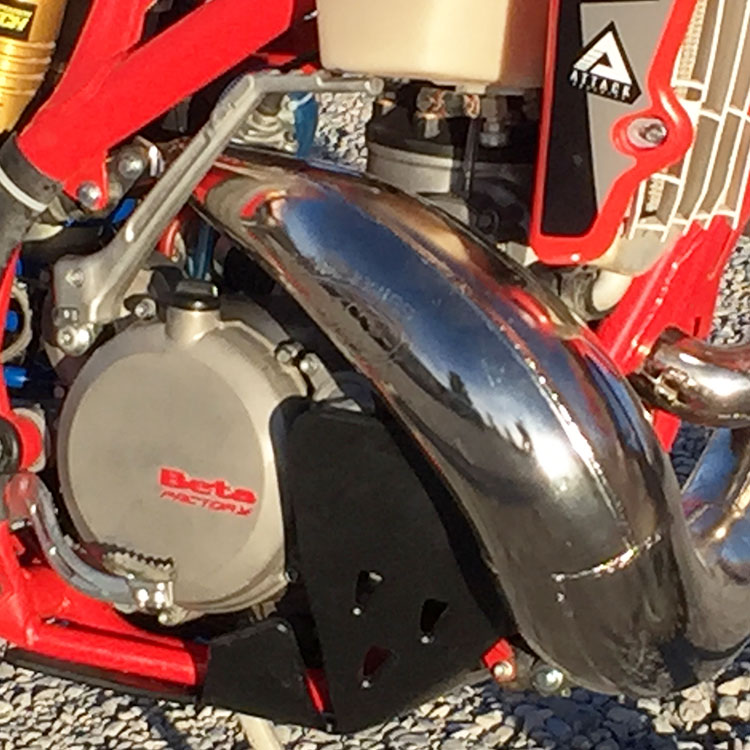
The exhaust pipe was destroyed from doing King Of The Motos so a new FMF Gnarly was installed and the FMF muffler was still in fine shape. One of the main reasons to start this rebuild was a broken rear subframe. Made from plastic it had taken a very hard hit and cracked. Since it was plastic it did not bend and the bike was still very rideable, but this needed replacing.
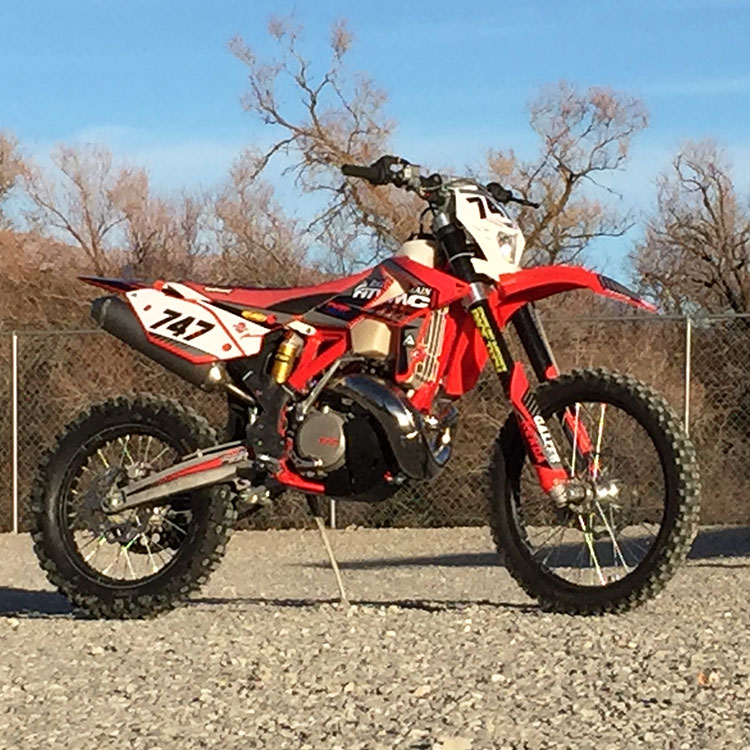
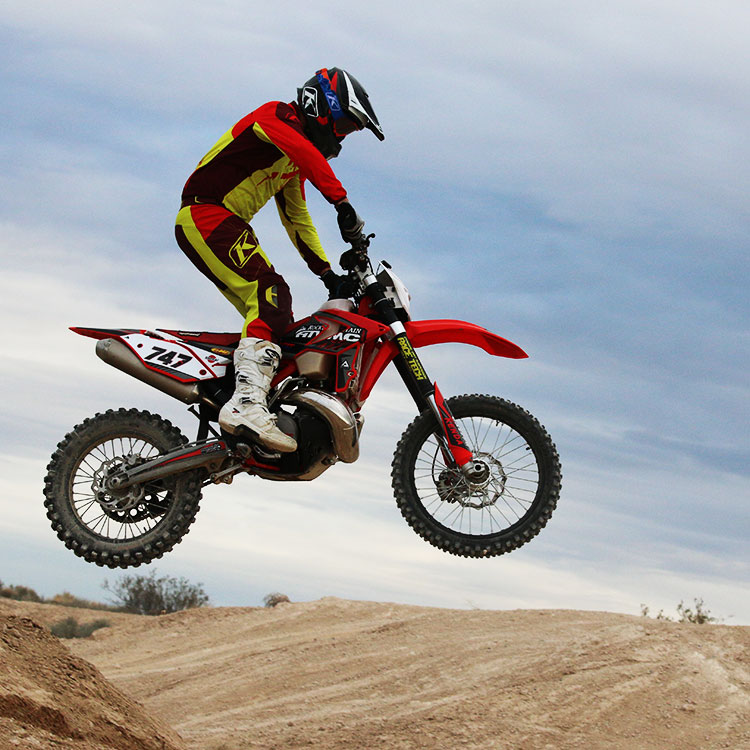
So after a few typical long nights in the shop and in no rush we got the 300RR all back together. It looked brand new from a distance and race prepped when you got up close. Then we didn’t want to get it all dirty either, but what are dirt bikes for. This bike’s first mission was as a ride for a sweep rider at the 2018 King Of The Motos and it worked and ran perfectly except for an oil leak in the side cover gasket from the re-removal without replacement. Replacement on the way!
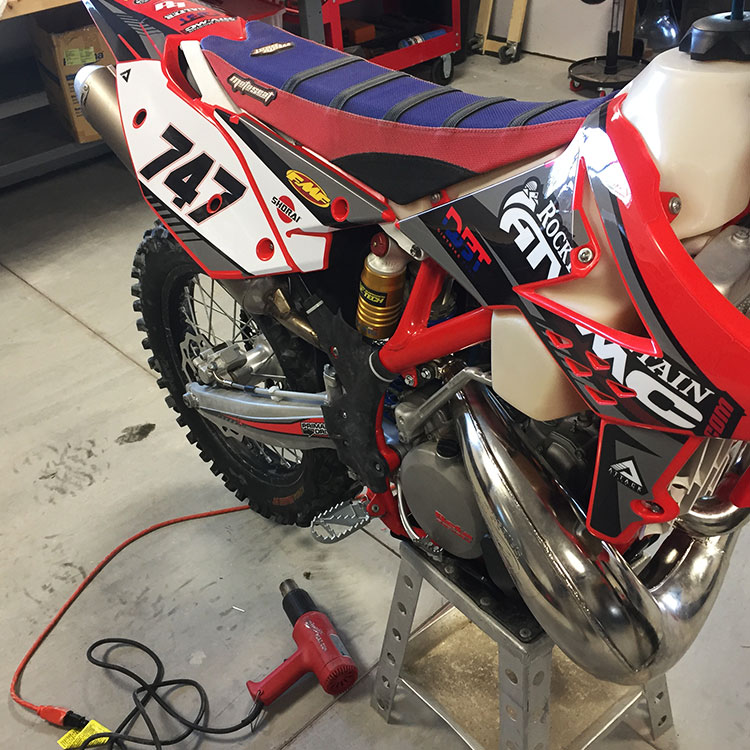

The bike felt incredibly tight but did feel like the motor was much roudier with power–possibly giving it the feeling of more vibration. Our seat of the pants dyno would assume a 15-20% torque increase and the horsepower was definitely improved. Now the 300RR Beta felt as good as it did the day it was purchased, tight pegs, smooth clutch, easy first touch starting and NO RATTLES.
As for the costs, the engine’s total rebuild with new OEM rod, piston, bearings, fiber clutch plates and all new gaskets and seals cost roughly $930 in parts. There are not a lot of aftermarket options here but it is reassuring to know the parts are just like what lasted so long before. The subframe and airbox were about $130 total and also OEM. Where it can get expensive is with all the bearings in the swingarm and suspension, not to mention the headset if you go with stock parts, bearings run $40-$80 a piece. Luckily Rocky Mountain ATV MC has kits that cut the price in half and are brands we have had success with in the past. Ditto for the plastic. All said we threw close to $3000 at this bike, but it was brand new again.
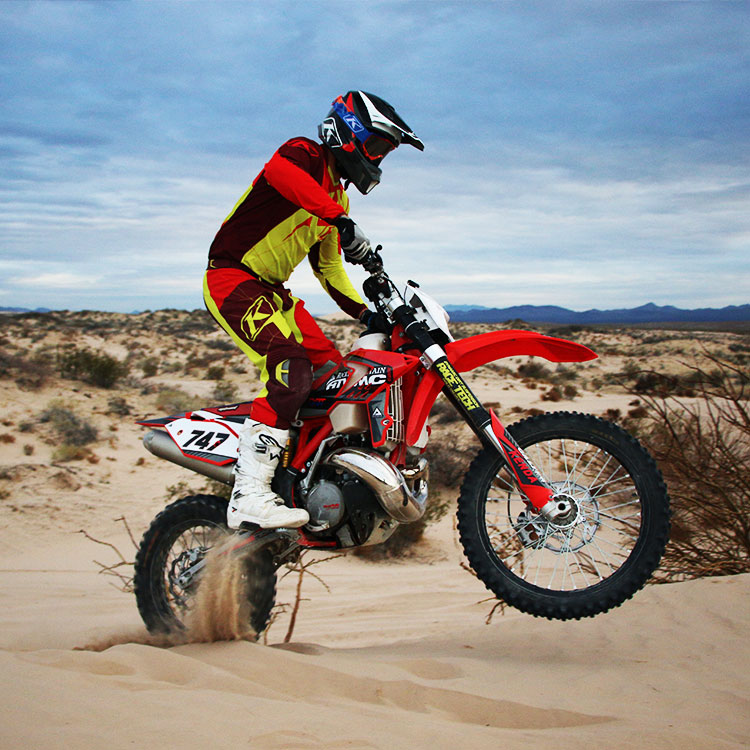
The owner, after this experience said he would without a doubt buy another Beta in the future. The build quality is there, the manufacturer’s support is there and lets face it, no one makes a better aesthetically appealing bike. The suspension we picked up from Sportsman Cycle was spot on with the bike being valved and sprung for a 235lb. man riding anything from a hard enduro to GP style riding. Overall we could not be happier with the way the Beta came out, it was a very user friendly rebuild and more importantly a very financially capable rebuild for those who can not just go out and buy a new bike every year or two. And since Beta has not made huge changes to the two-strokes it really isn’t that much different than a 2018.


One Response to “The Beta 300RR, 5 Years And 300+ Hours Later”
Jaron Troy Behunin
I was able to purchase this bike today! John, the owner was very enthusiastic and knowledgeable. And he had much to say about this build. I feel extremely lucky to have happened across this bike and I can’t wait to twist some throttle tomorrow. Not sure if I’ll be able to sleep tonight due to the anticipation.