Trailside Tire Change
By Jimmy Lewis
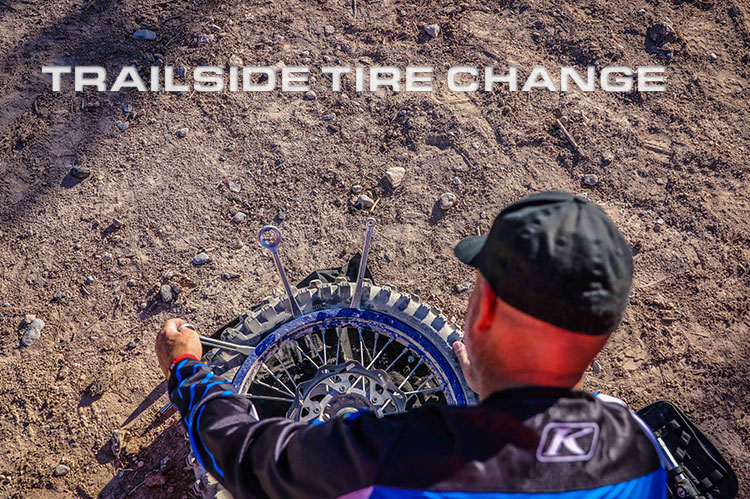
Changing tires is hard enough for most riders in perfect conditions, but what do you do if forced to do it out on the trail? We’ll give you some insight based on years of experience learning the rights and wrongs of the process.


Have the right tools. How do you make sure? Use them in a garage tire change to verify it. The basics are; wrenches/sockets to remove the axel, wrench/socket for the rim lock, something to keep dirt out of the bearings, valve core remover, compact tire irons and a compact tire pump. An extra valve core and a valve stem nut can come in handy too.
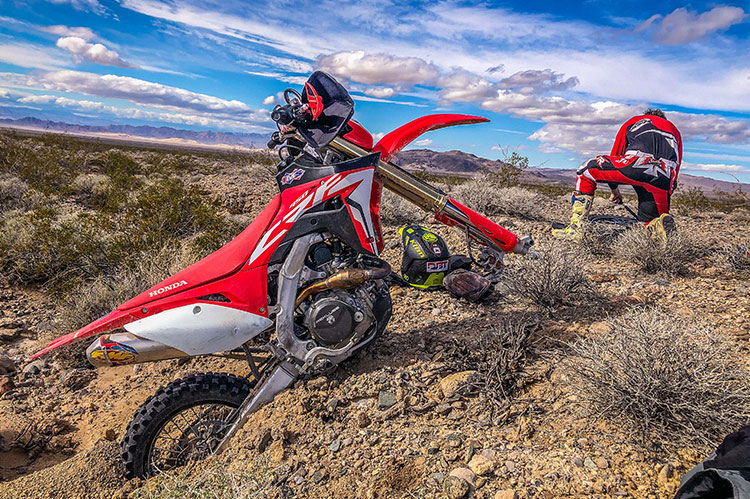
How do you hold up the bike? What do you use for a stand? Or do you even need one? Logs are great, rocks can work and we’ve even laid a bike over on the side or dropped/ hung the bike on a ledge to allow easier wheel removal. The answer is to use what is available. Often a little hunting for a proper nature-made stand can really save time and effort. And remember the “balance” of the bike will drastically change when the wheel comes off, so expect that.
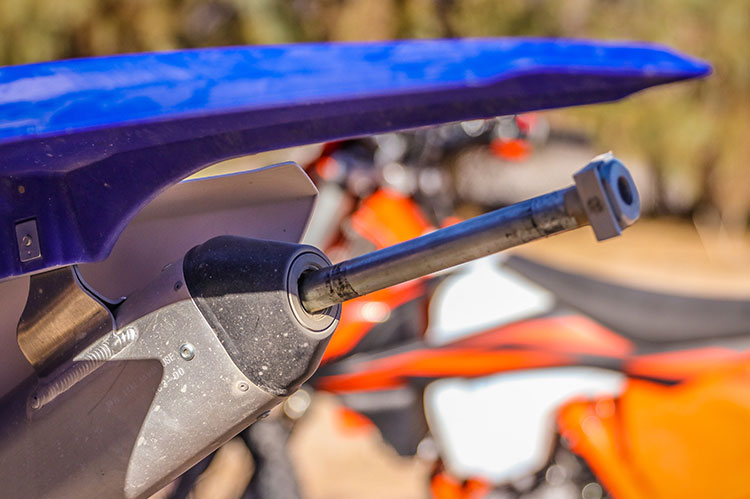
A great place to store the axle is in the muffler. Also, keep the loose parts away from the working area because we all know how hard it is to find parts that have been kicked or buried in the dirt or even worse sand.
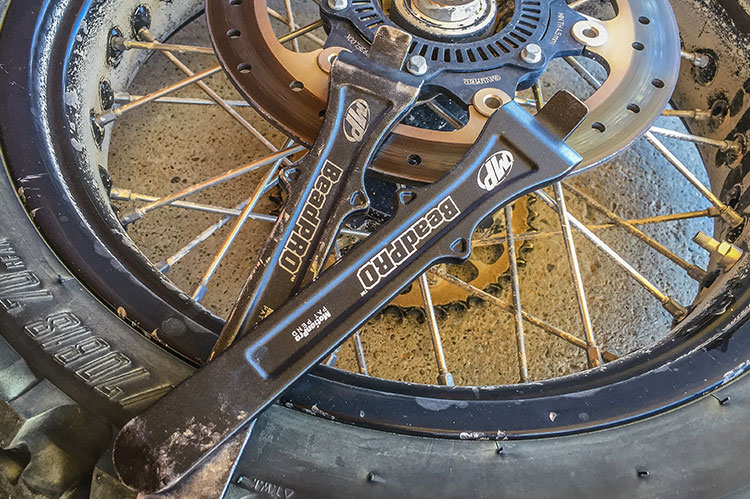
The techniques for the actual tire change do not change on the trail. So if you do not have these techniques, they will not manifest in this time of need. So yes, practicing this in the garage is a good idea. If your tire requires breaking the bead off the rim, having specialty tire irons can go a long way. Or you can ride the flat tire till it breaks off the bead or becomes hot and easier to remove, yes we have done this in a pinch. If equipped, loosen the rim lock(s) first.
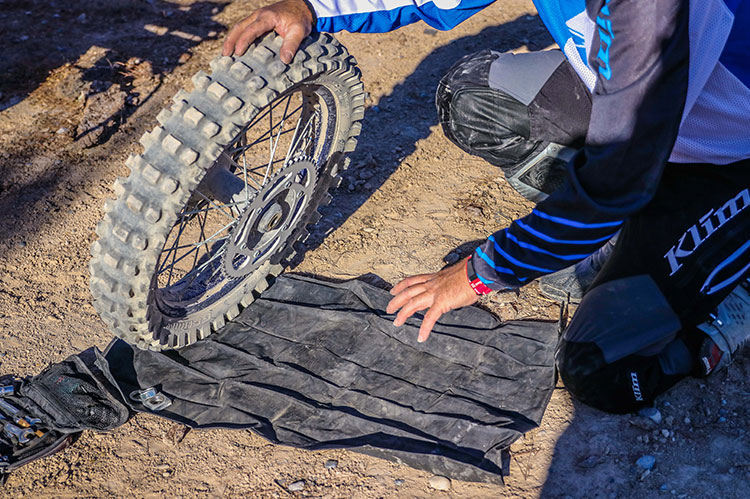
You can use a shop rag to keep dirt out of the wheel bearings, but there are some tough and compact changing mats that give you a much-improved workspace.
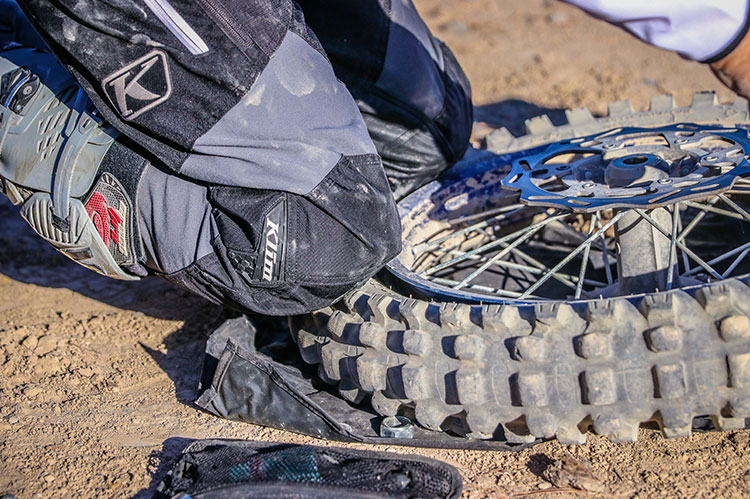
Since you should have knee protection on, put those knees to good use in keeping the tire down into the dish of the rim as you work. Do you take the tire off the rim or just replace the tube, out and in? It depends on the type of flat and if you need to be sure that whatever caused the original flat will not cause another one. If there is any doubt, take the tire off the rim to inspect and clean it out.
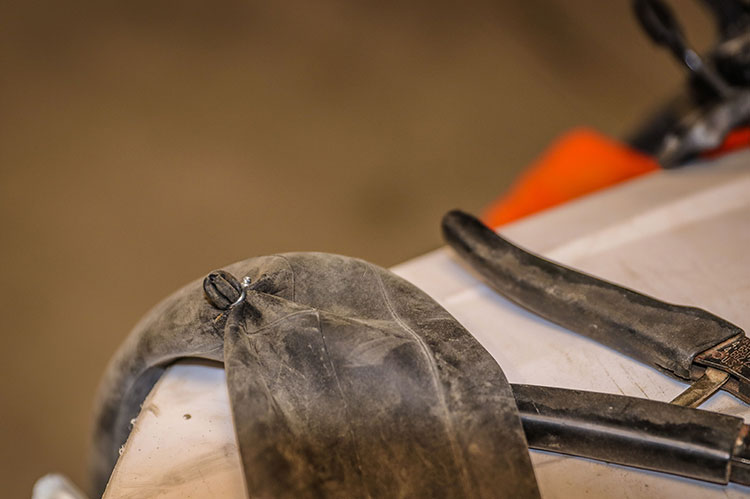
What do you put back in the tire? A new tube would be ideal, but out on the trail, the truthful answer is, whatever you have available. In order of preference, here is a list: new tube of the correct size, new tube of incorrect size (i.e. 21” front tube stuffed in the rear tire, that is why most riders carry only a spare front tube), or patch the flat tube. But wait, there’s more! If desperate, you can rely on the last resort/Hail Mary methods. We’ve pulled the part of the tube with the pinch in it, secured wire around the tube beneath the hole, and isolated the leak by twisting the wire tightly (it worked.) You can use heavy zip ties to secure a flat tire to the rim if no other solution is found. And we have even stuffed leaves and pine needles into a flat tire as sort of an “organic mousse.” When you’re screwed…Remember you could have been better prepared.