Motorcycle Lighting 101
Story by Brent Farrell
Over the years, the guys that make up the DirtBikeTest team have done a lot of riding and racing at night. During that time, we’ve figured out a way to get lights on bikes that, in most cases, were never designed with that in mind. If you want to extend your fun into the night, all you need to do is figure out what lights to use, how to power them, and somehow mount them on the bike. Simple enough, right? We’ve explored many options over the years and have learned something along the way – hopefully enough to get you on your way when the sun starts to set. As you might expect, more of those lessons came from failures than successes, but nonetheless, we’ve learned a lot with those experiences.
The easiest way to power lights is to simply ride a bike with a strong charging system, something that puts out more electrical power than the bike needs to run, and then go buy one of the plug-and-play lighting options. One down side is many of those lights may not be enough for a more aggressive riding or racing application. Likewise, your bike of choice may not be qualified to run the lights you like straight off the showroom floor.
Watts, Volts, Amps? What’s actually coming out of my machine? I’m not qualified to teach anyone on electrical theory, so I’ll point you elsewhere for that, but I’ll explain here at my level of understanding, where we start with a new lighting project. First, figure out what we’ve got. Most modern bikes are electric start and have batteries, so they have a stator that makes enough power to at least keep that battery charged. What we need to know is how much more power is available. It sounds simple enough but it’s not as easy as measuring output with a multimeter. The charging system, much like that of your car, puts out what’s needed so it can be hard to measure what it’s capable of. Depending on the bike, you may be able to find some information online from companies or individuals that have worked on similar projects so that might get you pointed in the right direction. Just keep in mind, there’s no shortage of information on the web and it may be difficult to trust, depending on the source.
Another great source can be your owners manual. If your manual has the right information, you can determine a round number of the bike’s power output with some simple math. For instance, when wiring lights on our 2021-2023 YZ450FX, we determined the TOTAL 70W output by multiplying 14 V x 5.4 A = 70W. To note, the bike is producing 5.4A at 5000 RPM, so it produces slightly more at higher RPMs but slightly less at lower RPMs. From there, the fuel pump requires about 33.6 W (2.4 A x 14 V), plus some of the other miscellaneous electronics. Contrarily, the WR models produce about 140W of power, significantly higher than the F/FX models.
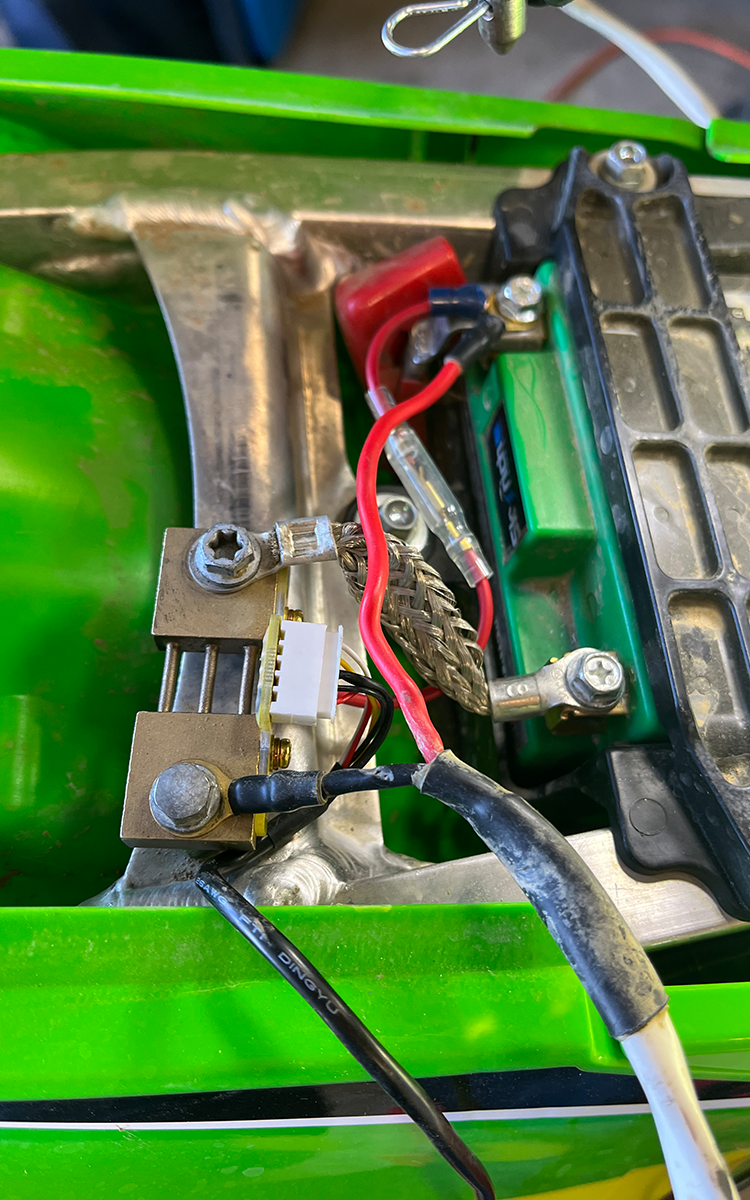
If you want to test for yourself, here’s the way I’ve done it and the results have been pretty reliable. First, you need a clamp meter or a battery monitor that uses a shunt. Either will measure current, although many of the clamp meters will be difficult to get around the battery cable given the minimal space on most bikes. I prefer the battery monitor option since it provides an easy way to measure current input as well as output. There are many options, but I use one off Amazon that usually sells for $30-$40. The shunt gets installed temporarily in between the negative terminal of the battery and the negative battery cable. Once installed you can see battery voltage, current amp draw and amps over time, measured in Ah (Amp Hours). Battery voltage is useful, and often the first thing someone would want to look at, but voltage decreases slowly, even when the system is running at a substantial loss, so it’s difficult to determine output. The most accurate way I’ve found is to look at the Ah.
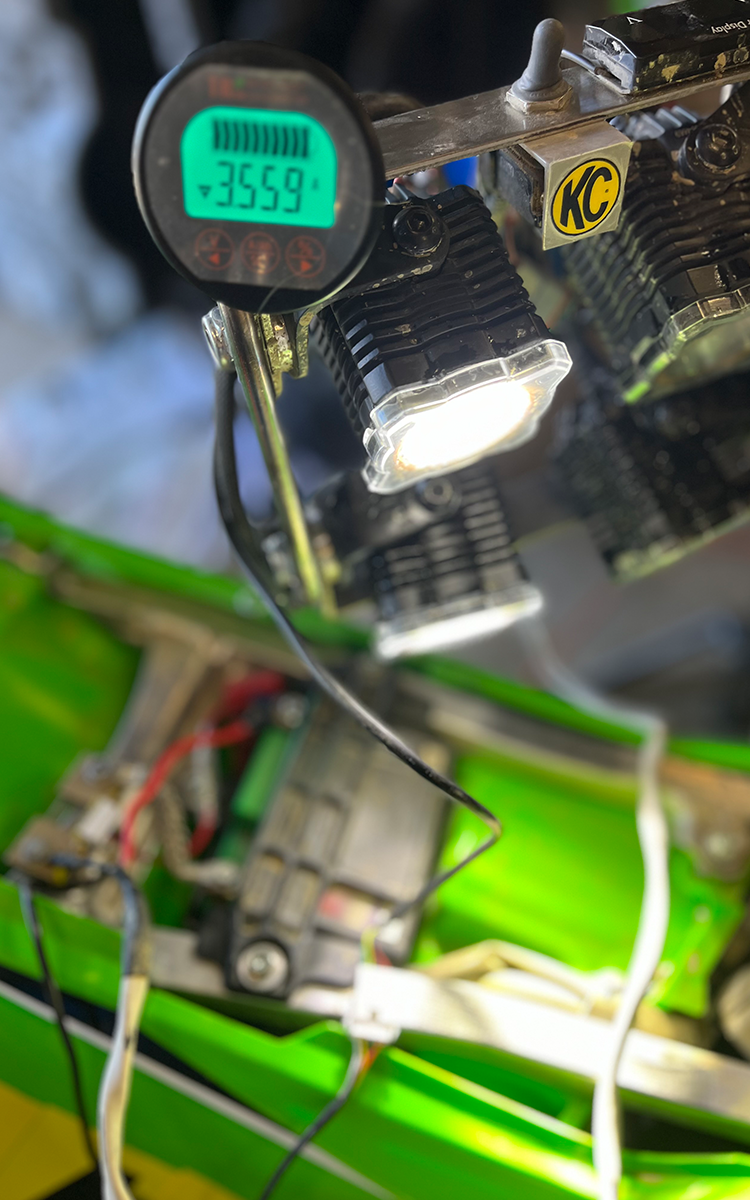
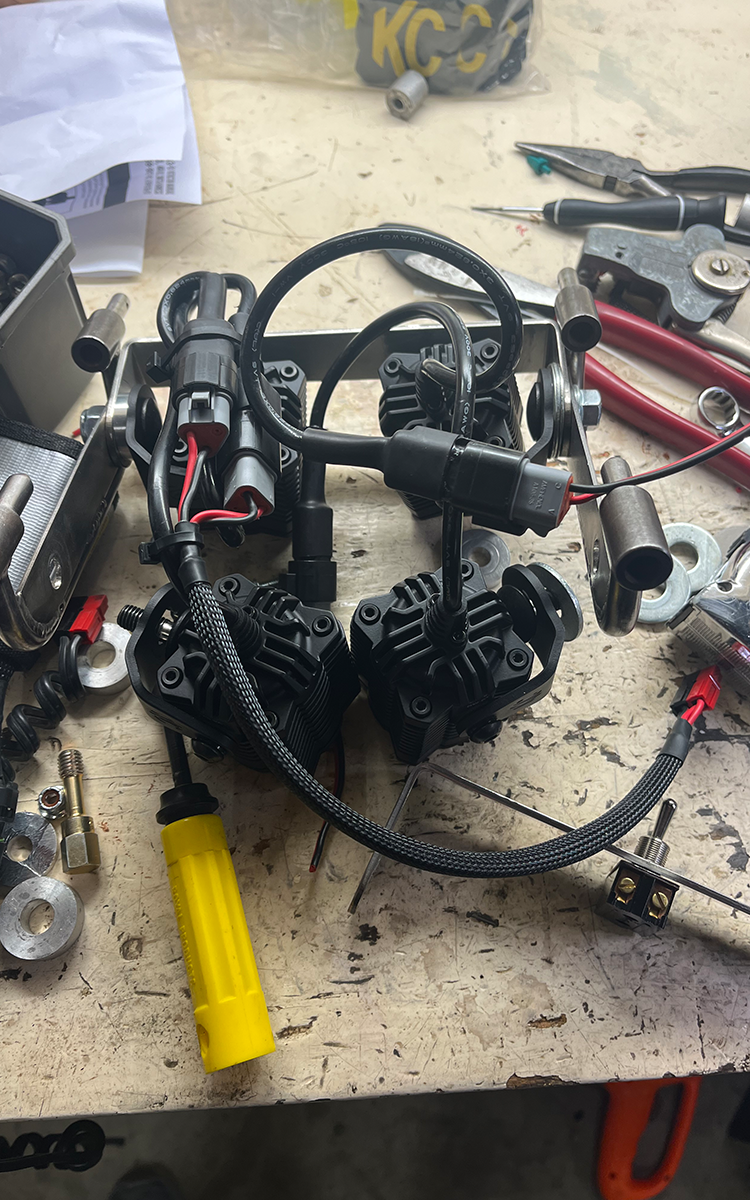
Below are two tools that have been very helpful for us – the volt meter which we installed on the bike and rode/raced with the watch the bike’s battery voltage, and the Shunt battery monitor that helped us in the garage determine if we were drawing at a loss or breaking even.
The test is relatively simple. First put the light on the bike and turn it on. I like to let it run for a few minutes with the engine off to drain the battery just a bit. This will make sure the charging system doesn’t see a fully charged battery and not put out its full potential. During this time look at the Amp screen on the meter. This is the load the light is putting on the bike’s battery, measured in Amps.
Next look at the Ah, this is the Amps per hour. You should see a constantly increasing number that represents the energy coming out of the battery. It may be shown as a decreasing number, depending on how the monitor is set up. Think of this like a water hose. You’re measuring the amount of water flowing over time.
Now start the bike and let it idle while watching the Ah, it should at least be counting slower as the charging system of the bike is now putting energy back into the battery. If the number has stopped moving or moving in the opposite direction, meaning the battery is charging, the bike is able to support the load of the light, even at idle. This is the ideal situation and indicates that the draw of the light is well within the capabilities of the bike. If the Ah is still counting in the original direction, the test isn’t over. The power of the bike’s charging system increases as the RPM goes up, so now we want to slowly increase the RPM and watch the Ah. You should see the number stabilize at some point which would mean the system is now at a break even point where the battery isn’t being charged, but is no longer discharging. Continue to increase RPM and the number should begin to move in the opposite direction. What you’re identifying here is at what RPM the bike can support the light. As mentioned earlier, the ideal situation is the bike can support the load at idle and for casual riding, I would usually suggest finding a light that the bike can support in this way. If you see the Ah number stabilize just off idle, that may still be fine, but it’s important to know that anytime the bike is idling, the system is running at a loss and will ultimately drain the battery.
Now what if you want the most light you can get and you’re willing to risk draining the battery at a lower RPM or maybe it’s a racing application where light output is critical and you want to squeeze everything you can out of the bike? Now it becomes a math problem with a variable that’s difficult to predict. You can put a bigger and bigger load on the bike (more light) as long as the average RPM is higher than the breakeven point you saw in this test but estimating average RPM is pretty tough unless you’ve done a lot of this type of testing in very consistent conditions. Keep in mind, tight trails are going to create a much different average than fast roads.
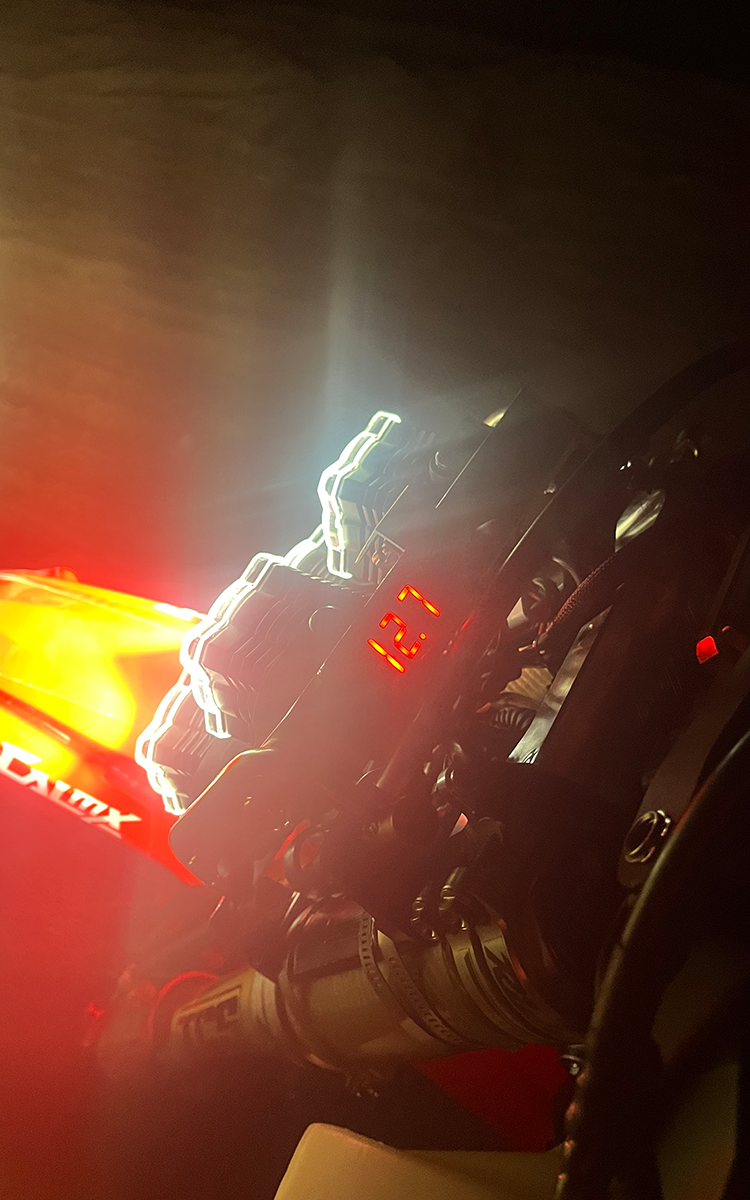
Once you’ve completed the test, what now? Let’s say you bought a light and in the manufacturer specifications, show it’s rated at 40w (watts). If the test proved you could support that, you know the bike’s charging system is at least good for 40w, but it could be more. I use a couple different lights that I can use in various configurations to test at increasing loads. If the 40w test was successful, I change the light and try it at 60w and then higher until I know, pretty accurately, what the bike will support at idle or at an rpm that I’m comfortable with. It’s a process for sure, but it’s important to know you’re not slowing draining your battery. Many times I’ve seen a light set up that looks fine, only to find out later that it was running at a slight loss and after 2 or 3 hours the battery was dead. One way to add a little protection is to wire in a cheap volt meter. I got two off Amazon for $10. We mounted it to the light frame so it can be seen easily. It should read close to 13v while the bike is running. If you see it drop down below 12v, you’re running at a loss and will soon be parked if you don’t make some changes.
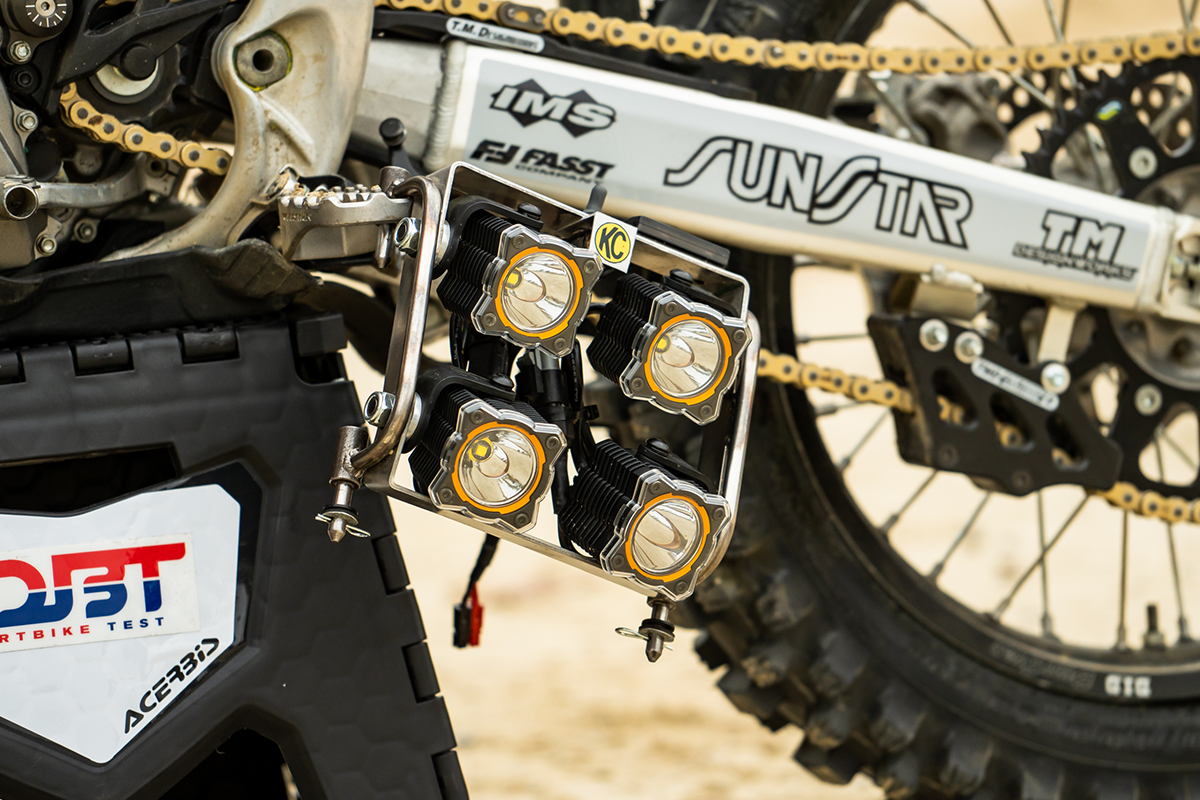
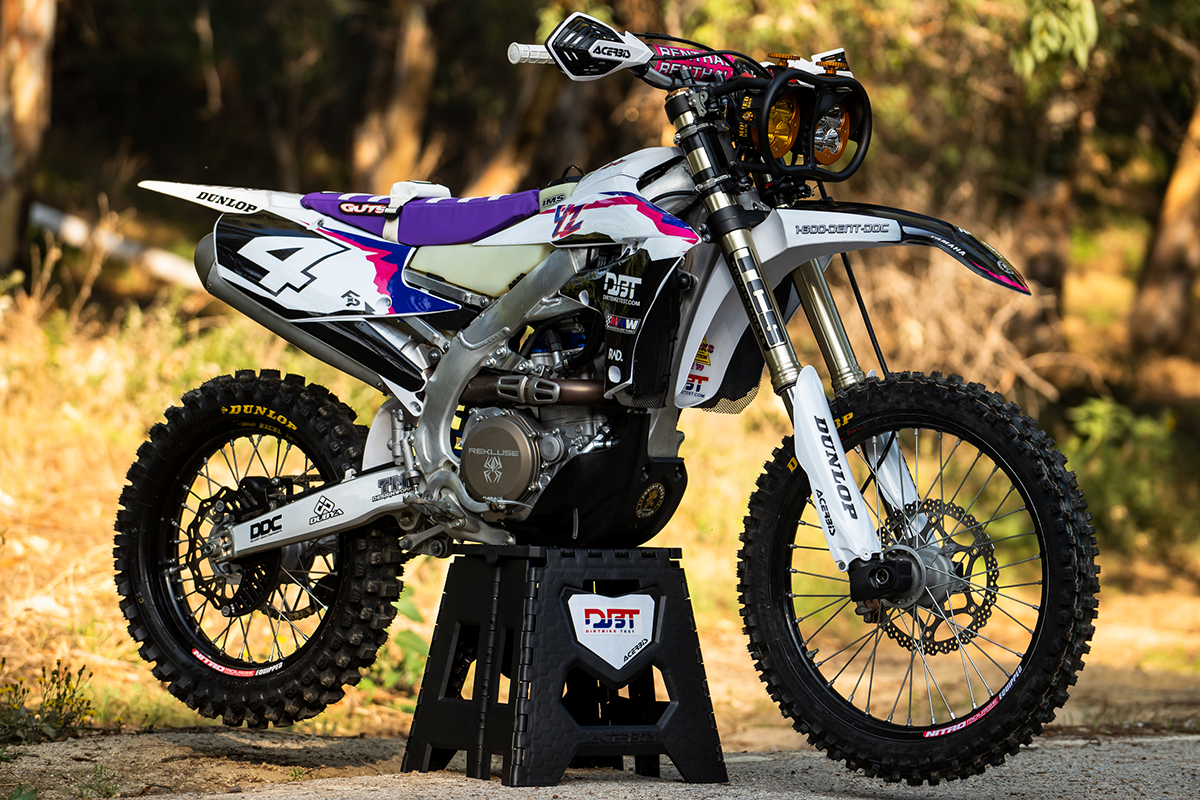
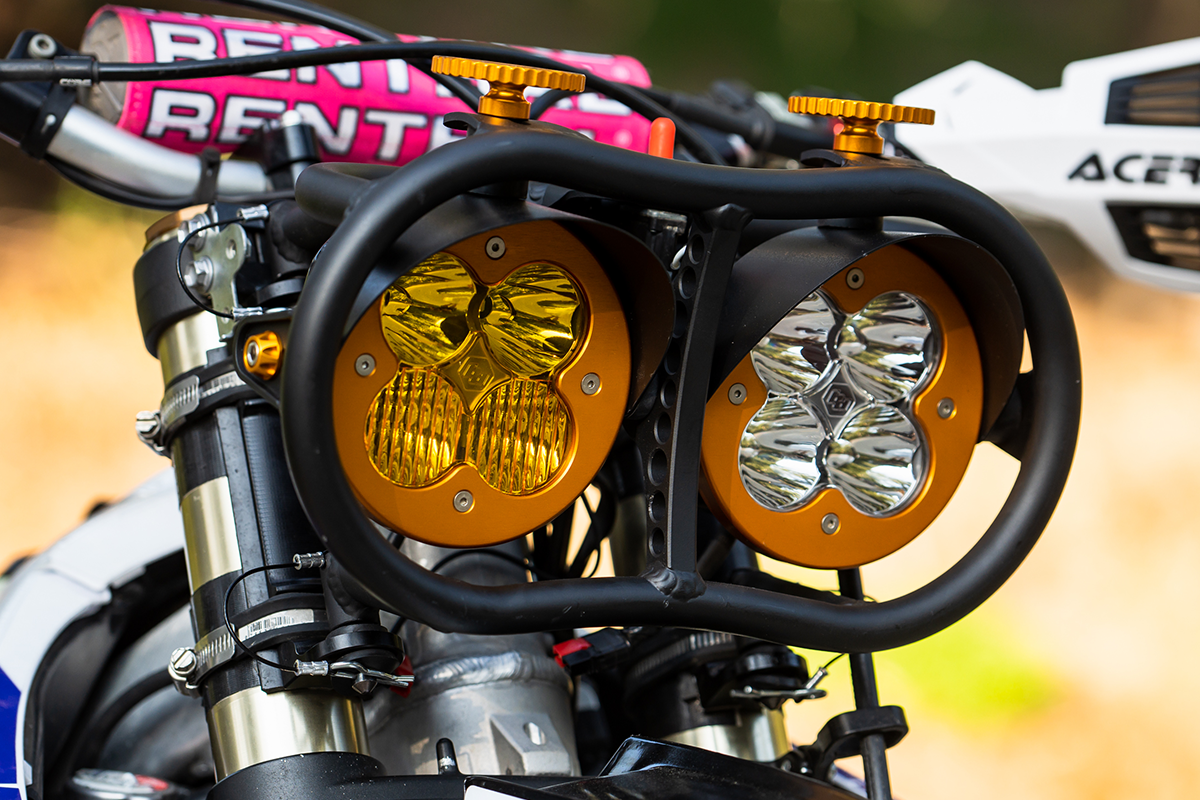
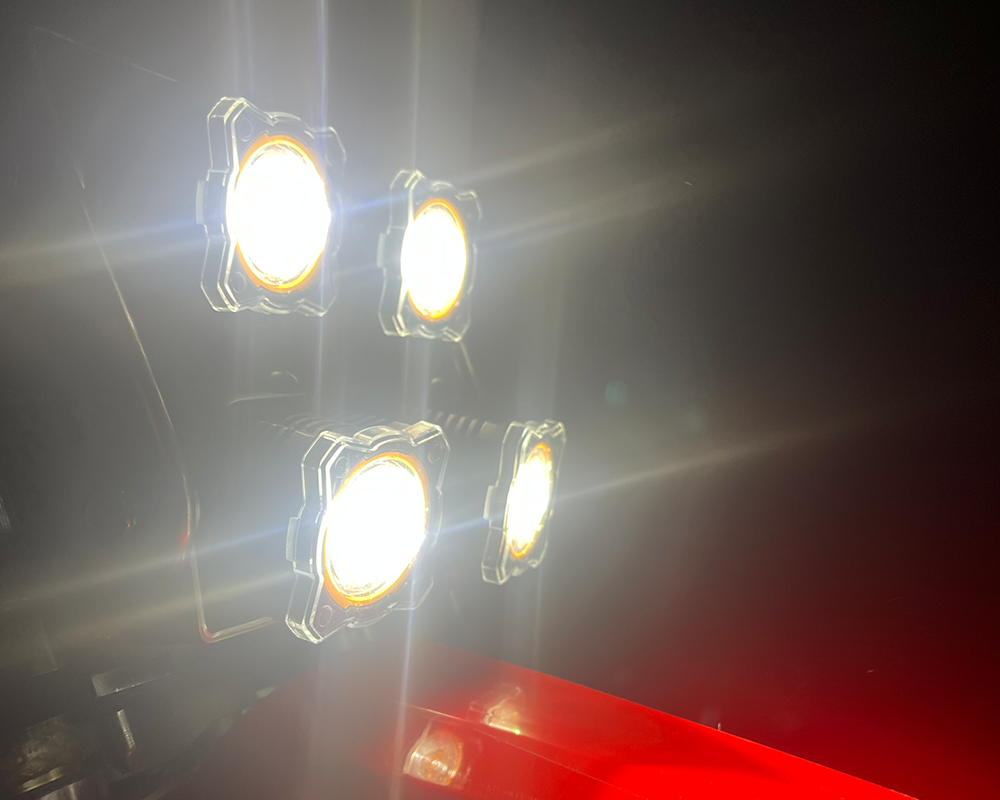
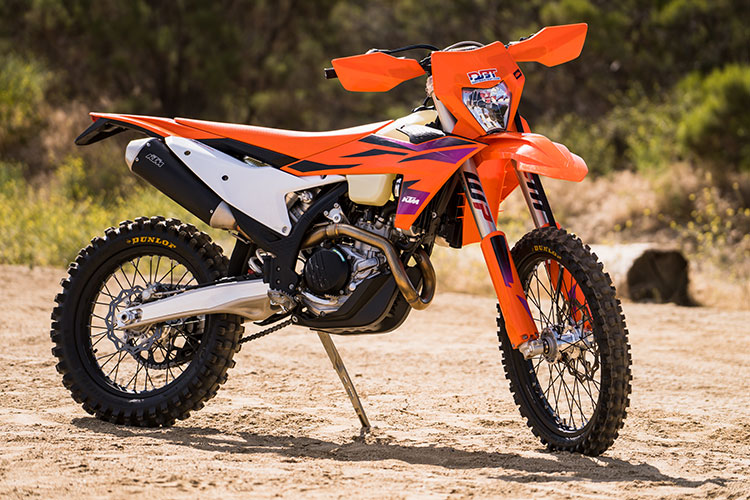
“I now know what my bike puts out, but I want more.” This is the most likely result of all the testing because everyone wants more and when it comes to riding and racing at night, fun and speed increases exponentially with more light. The solution is to increase the output of the bike. There are companies like Baja Designs and Trail Tech that sell high output stators and if one is made for your bike, that may be the easy solution. If not, there are companies like RickyStator who may be able to rewind your stock stator to increase its output. Another option may be to replace your stator/flywheel/rectifier with parts off a different but similar model bike. In some cases, the components off of the enduro model (eg. YZ450FX can use a WR450F stator/flywheel for more output), which is designed to support lights, will bolt right up. This is very model specific so it’s not something I can cover here. Do some searching and talk to some of the companies in the industry to see what options exist for your bike, or scour a parts fiche and start comparing part numbers to see what you may need. Oftentimes, the Stator/Flywheel/Rectifier are the big parts that would be different and are the first ones to look at.
The last option is batteries. Personally, I really like this a lot, especially for a racing application, and when it’s combined with a bike powered solution. Nothing is better than redundancy when it comes to lights. A single light powered from one source is one loose wire away from leaving you in the dark. Even worse, it may leave you in the dark unexpectedly while at speed. It’s happened to me and to say it’s an unpleasant experience would be a vast understatement. If you’re running multiple lights where some are powered off the bike and others off a battery, it’s “safer” and will allow you to keep moving and hopefully get somewhere to fix the problem if you have a failure. As for batteries, there are many options and I’ve seen creative setups from remote control car batteries to cordless tool batteries. I would recommend using a battery pack that includes a PCB (protection circuit board) that prevents over discharge as that can ruin lithium batteries. You’ll also need to do some math to determine how big of a battery you will need.
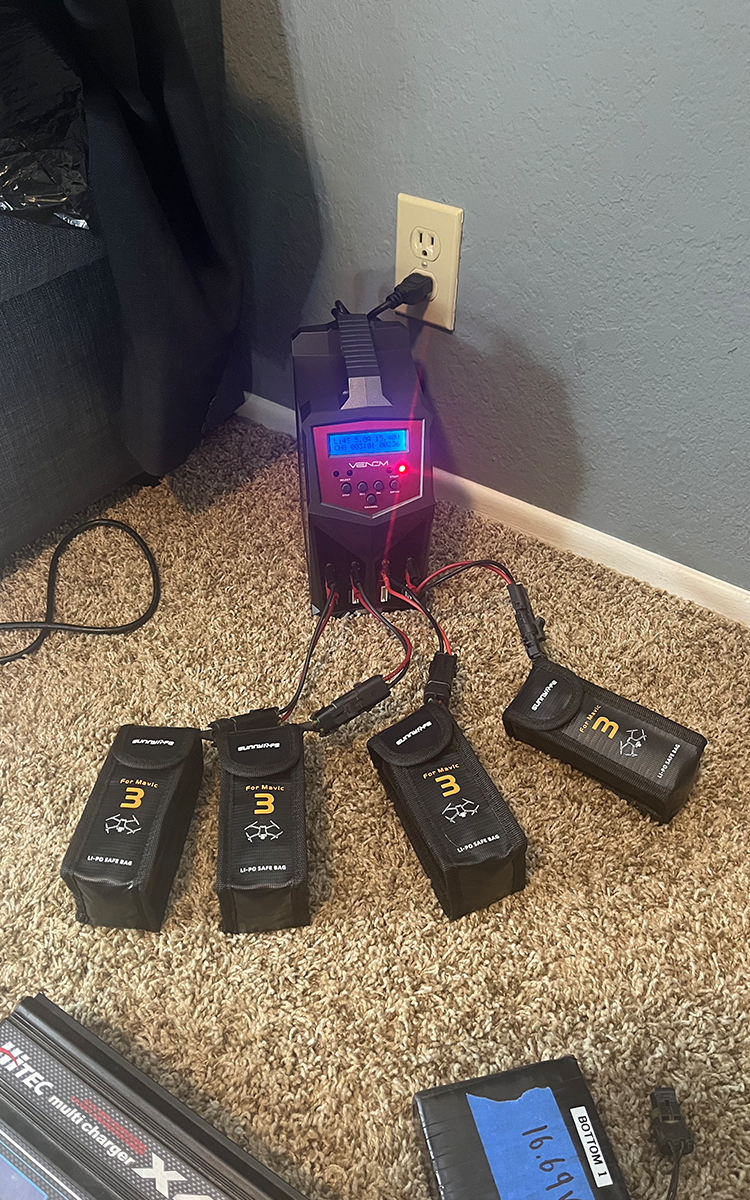
Below is a link to the battery charger we used, while THESE are the batteries we ran during the race.
Here’s where Amp Hours (Ah) apply again. Batteries are rated in mAh and that number represents their capacity. A 10Ah (10,000 mAh) battery will support a 10A draw for one hour. If we go back to our 40w light example and assuming you’re using a 14.8V (a 4 cell lithium battery) you would see a little below a 3 Amp draw. (The formula to determine is A x V = W) Divide that by your battery capacity and you’ll get an idea of the expected run time.
In this case, a little over three hours. I’ll leave you to professor Google if you want to dig deeper into the electrical theory and calculations or compare the various lithium batteries, some of which vary slightly from the example I used. Luckily there are many companies that build battery packs in pretty much any configuration you can imagine, and most are willing to help you figure out what you need if you know the specifications on what you are trying to power.
Now all that’s left is to get out there and ride into the darkness with safety and confidence, or maybe take advantage of the growing popularity of night races and add some competition to your fun. Good luck!
Do You Like DBT Bringing You Fresh Content? Search and Shop Through the Links Above or Below: