2019 Honda CRF450X Long Term Update #1
We’re well over the 2000-mile mark on our 2019 Honda CRF450X and it hasn’t been easy miles to say the least. The odometer reads 2200 and we’re guessing that is easily over 60 hours in total. Not armed with a service manual just yet (on order) we have been using common sense maintenance intervals with only one mechanical issue to report.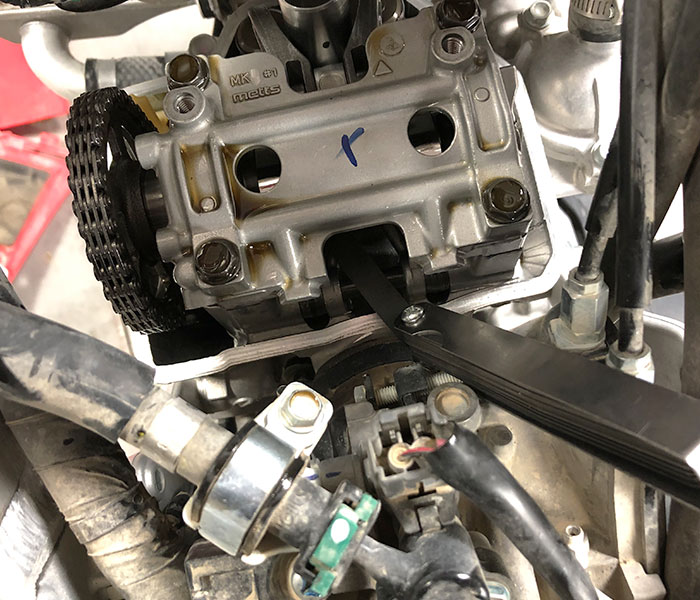
The air filter stays pretty clean since it is well shielded from dirt and dust kicked up by the bike’s own tire, air must enter from the top under the seat. We’ve cleaned it any time it starts getting filthy and we have a second stock filter to make changing it quick. It is a tight fit but if you are careful it isn’t tough. The oil drain plug can get tight so make sure you have a really good fitting Allen wrench for removal. And be careful with the threads. We have been doing the oil filter every other oil change and have been using mostly Honda HP4 or HP4s.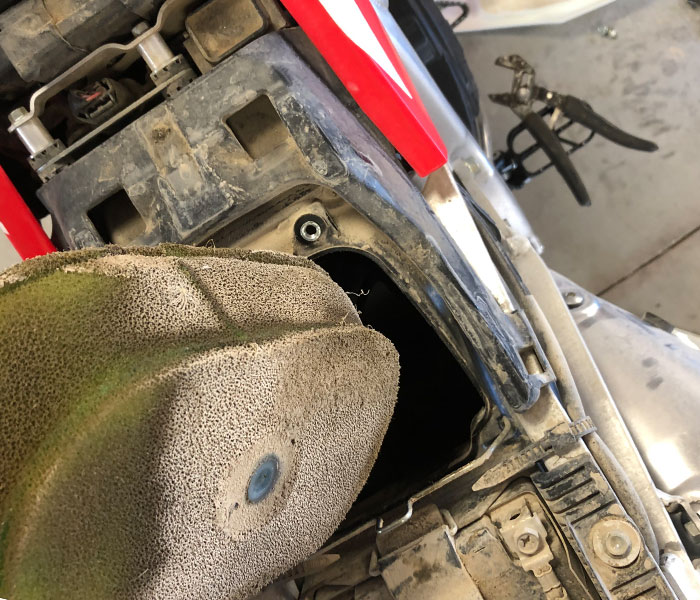
We have done a few different modifications which we will touch on lightly here and follow up with full product tests specific to this bike in later posts. Our modifications so far have been solely to address some complaints or issues we had with the bike in our first outings. Soon we’ll go into personalizing the bike a little more for our specific needs as further modification isn’t going to address any “issues.”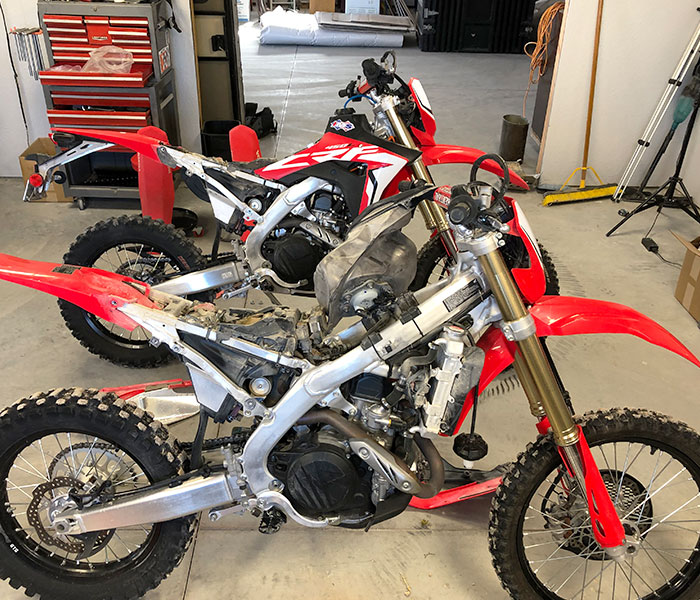
The first thing we did was to add an IMS fuel tank to the bike for some increased fuel range. We have been getting 38 MPG average so our stock range was roughly 70 miles with a little safety built in. We never ran out but we could not do some of our loops. IMS adds a gallon of capacity boosting our safe distance to over 100-miles. The fit of the $325 tank is tight and for the most part it goes unnoticed. Some feel it makes the bike look wider and heavier but it is better than the stock tank on the RX models. Cool thing is the standard Honda gauge will tell you gallons used and therefore is still a valuable tool in determining how much fuel you have left in our black plastic tank. Unless you do our next mod. Read on…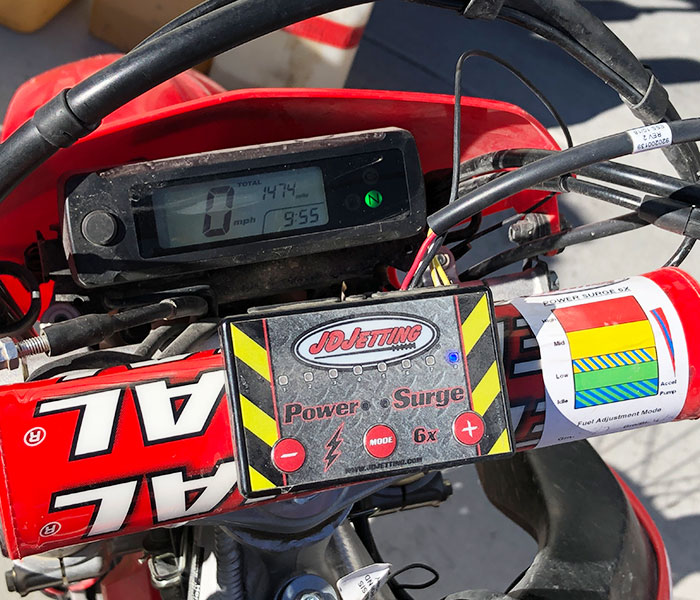
Our second modification is really only necessary if you plan to change the intake or exhaust, though it can help all on it’s own too. The JD Jetting Power Surge 6X interrupts the signal sent to the fuel injector allowing fueling tuning (jetting, for lack of a better word). So you can tune the fuel to match any changes you make like removing the air box cover (really livens up the throttle response) or change the muffler or entire exhaust. The only downside is that if you enrichen the mixture on the X, the ECU and therefore the multi-function gauge that shows fuel consumes becomes a little inaccurate. In our current setting we experienced about a 10% variance (more fuel used) in fuel use compared to what the gauge says. Adding the tuner and taking off the air box cover gives the bike a significantly better pick-up on the bottom and a smoother torque feel off the bottom.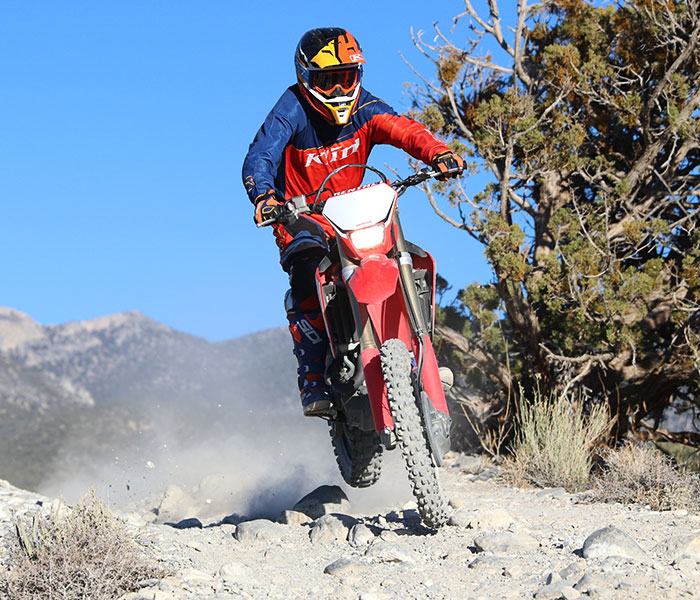
For a couple of reasons we switched to an FMF Q4 and Megabomb header. The first is weight loss. We dropped nearly five pounds off the rear of the bike and we noticed it. Second is that combined with the JD Tuner and the Mega Bomb, the throttle response really comes alive and the power down low, right off idle is way smoother and more controllable. Combined with the removed air box cover for improved flow, since the engine is really just an air pump. Everywhere through the spread there is more power at a lower throttle opening and more pick-up per twist of the throttle–though peak power and torque are only slightly improved. But you would be hard pressed to complain. Unless you like the super quiet sound level of the stock system. The FMF isn’t bad at all, it is just louder. Do not take the insert out unless you want a very flat powerband and more noise.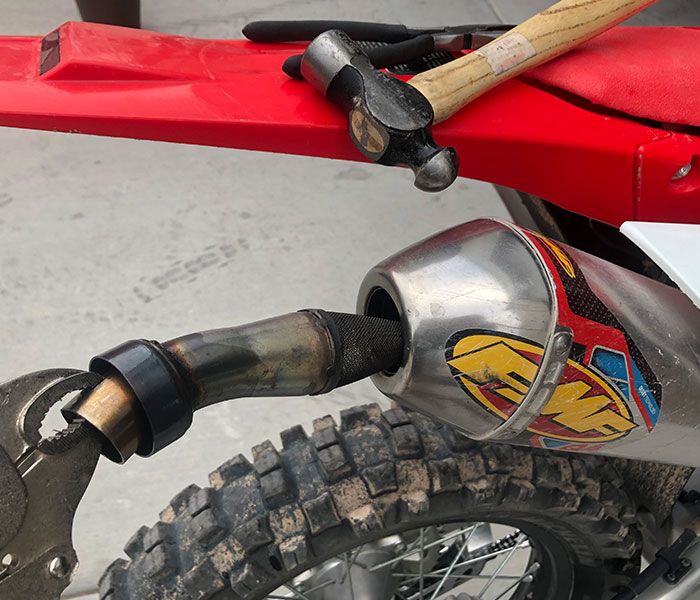
As for the thermostat and exhaust gas re-circulation parts on the side of the head, we found by using a plug inside of the air intake side of the unit, the smaller hose tucked back behind the coolant line in the picture below, the backfire is eliminated. In case it annoys you as much as it did us.

Then there is the clutch which we determined to be a little vague feeling at the lever stock. This, for most riders, will not be an issue under normal use. Except for the occasional stall when stopping and starting. But for really technical riding, slow going with a lot of clutch slipping it is an issue. We took three steps in solving this after ruling out some other options. The first was to try a billet clutch cable holder to eliminate any flex that the stock steel one has. This did not change or alter the issue. Next we looked at different lever ratios and found that was not it either. Then we tried a Rekluse TorqDrive clutch pack which changes out the stock friction and drive plates with Rekluse’s own parts. This made the 80% of the problem go away.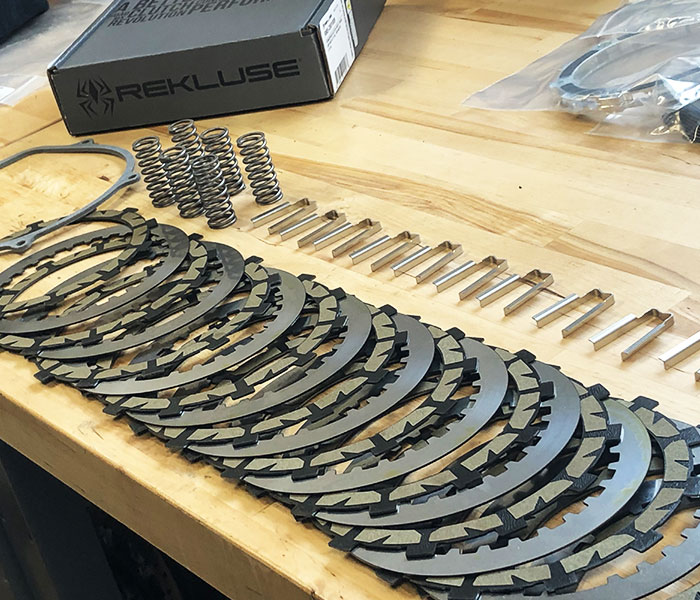
Then we tried the Radius X clutch which is an auto clutch system. It uses the EXP disc to do the clutch work for you. We set it up with the delivered standard set up and the stalling goes away 100% but the engagement RPM was a little high for our tastes (typical for us) and the bike freewheeled a little too easy when locking the rear brake. So we went to the soft spring setting inside the EXP disc and found a better overall setting for our tastes. The Radius X uses the clutch cable for adjusting the free play gain so using the clutch (in the rare instance you need to) like normal is a little awkward and the pull is pretty stiff.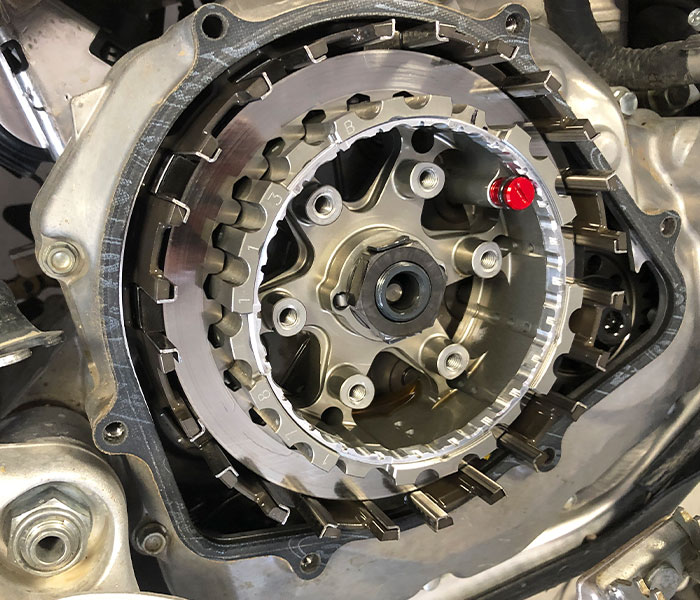
Our next step and where we have had the bike for the last 1000 miles is set up with the Rekluse Radius CX. This is the top of the line clutch system from the company and it replaces the drive hub with a Rekluse part that allows free play gain to be set in the basket and it returns a more normal feel to the lever if you use it. This, with a special Rekluse clutch lever allows the position and use of the clutch to seem normal other than the fact that the EXP does all the work to eliminate stalling or the need to ever use the clutch lever in the first place.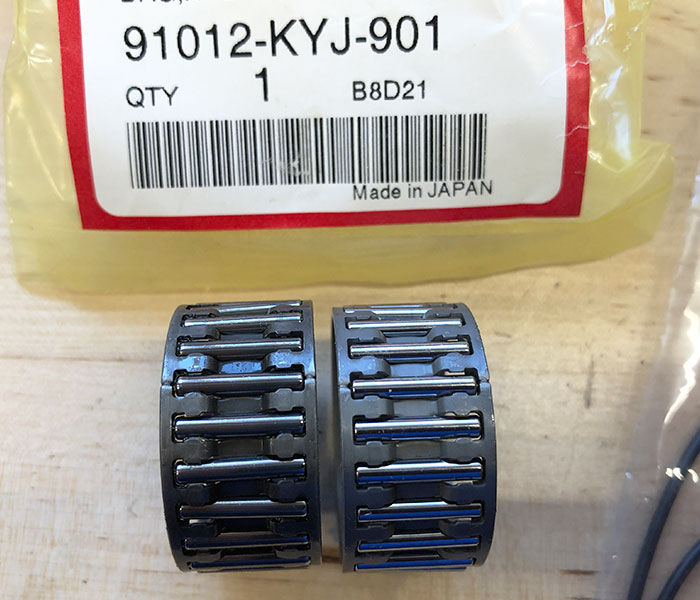
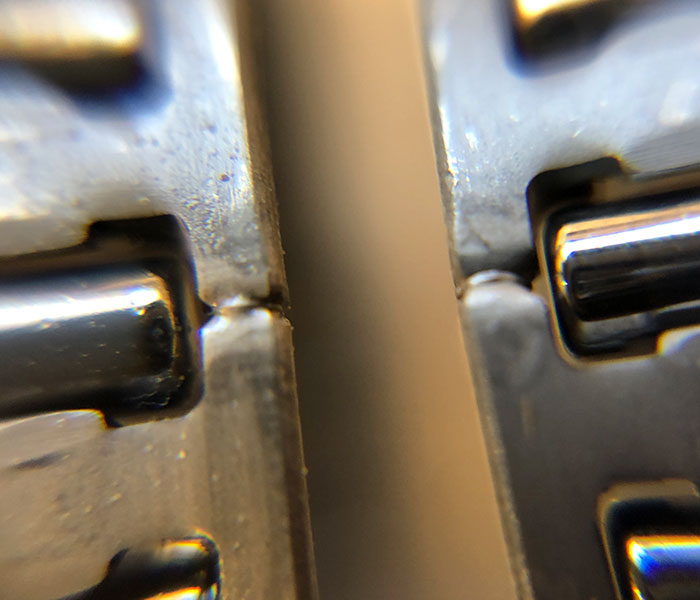
Upon our disassembly to check wear on the radius CX we noticed the clutch basket had a bit more play than we remembered. The basket and its freeplay on the output shaft was never one of the tightest ones we have seen but now it was noticeably loose. Upon inspection the bearing the basket rides on along the output shaft was found to have what looked like a cracked cage. We are inquiring about this to see if it is a known issue or a one-off thing. It appeared cracked on one side where the cage is fused but we may have cracked it when twisting on it to check to see if it was cracked. The bearing’s cost is under $5. We replaced it and will watch it.
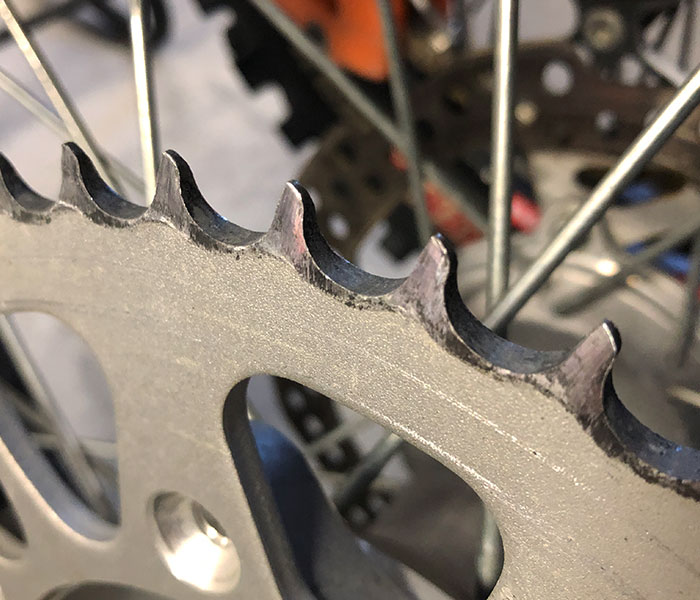
We went through the stock chain (seems like the quality is not what it once was and it took a toll on the sprocket and fast). So we replaced the rear sprocket and the chain with a Sunstar Works Z stainless steel sprocket and one of the companies XTG O-Ring chains to get re acquainted with the products. We’ve had great performance with this setup many moons ago and hoping for the same with this setup. Sunstar did not have a countershaft sprocket available so we replaced the front with a new stock one. We chose to go one tooth smaller in the rear (50T) and shorten the chain to let the rear wheel sit more forward in the swingarm after seeing what the JCR Race CRF450X setup was. This yielded a lighter and more lively feeling while not losing any stability in the handling. 
We also replaced the lower chain slider with a TM Designworks unit as it is beefier and longer lasting than the stock one which had become pretty worn. We wanted to use the TM slider but they do not have the correct part just yet, it is different on the new X.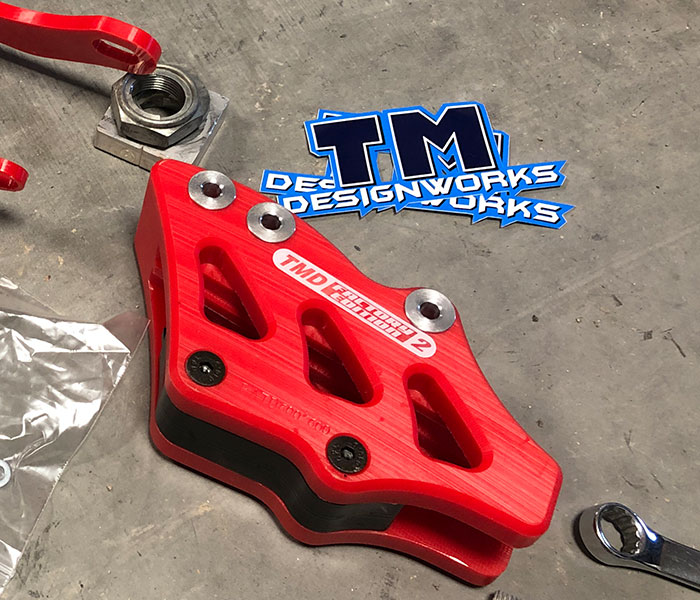
Onto tires, we have run through the stock Dunlop MX52s, a set of Michelin Starcross 5 Mediums and a set of Dunlop AT81s. Wear on all three was pretty similar but we preferred the traction and mostly the improved bump compliance of the Michelin tires. With a stiffer nature to the chassis, the tire’s character has a bigger influence on how the suspension feels. With the Starcross the front end especially felt better and rider’s were not as picky with having to bleed off air build-up or even be tempted to run a little negative pressure in the front fork. Though there is no science in this next observation, the Starcross and MX52 front tires suffered a rash of flats and the AT81 front has not.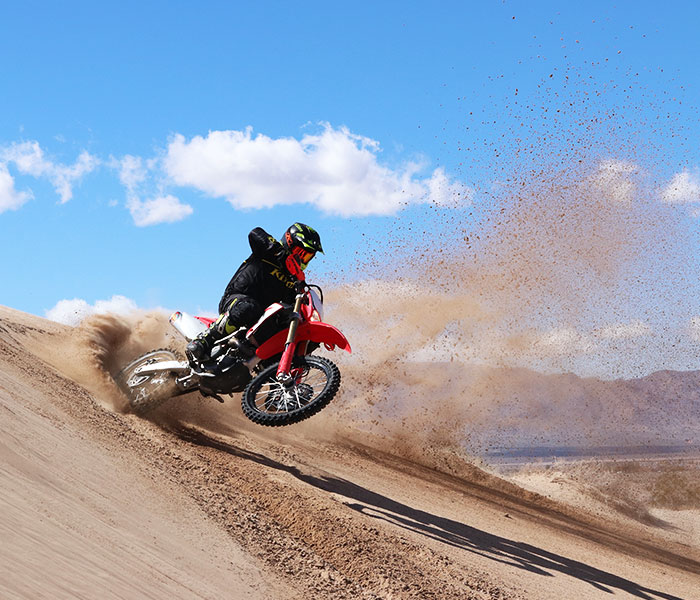
So far we have been very happy with the 2019 CRF450X. It works great in the faster and more open desert riding we have in Nevada with a chassis and suspension that will not hold you back while still being comfortable for all-day rides. We could ride the bike with the engine stock, no problem and for most we think that isn’t a bad idea. But since we know riders, we went ahead and in steps now have a really good setting that is sound responsible and plenty powerful. Our next steps will likely be to see if we can get some additional performance out of the suspension as it is definitely time for a service. And having ridden Factory A Kit suspension on the Mint 400 winning JCR race bike, we have a path to look for.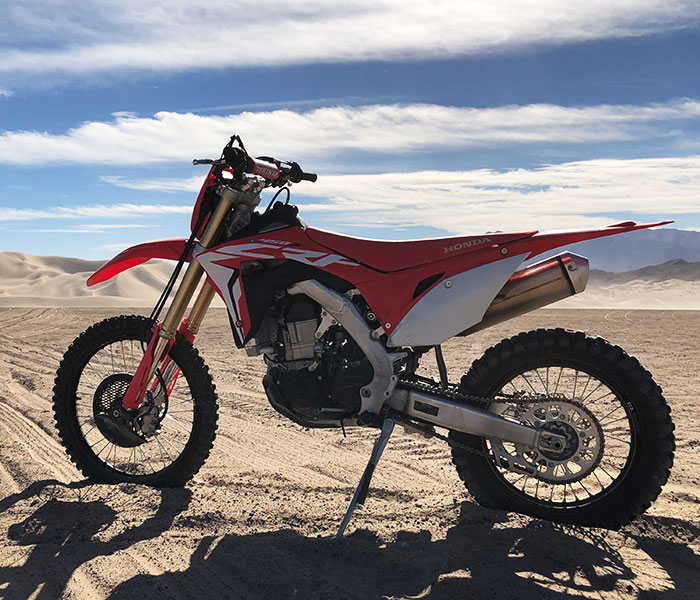
Maintenance:
Oil change W/Honda oil HP4 +/- $9 a quart.
Oil Filter – 2 @ $9.00
Air filter – 1 @ $59.00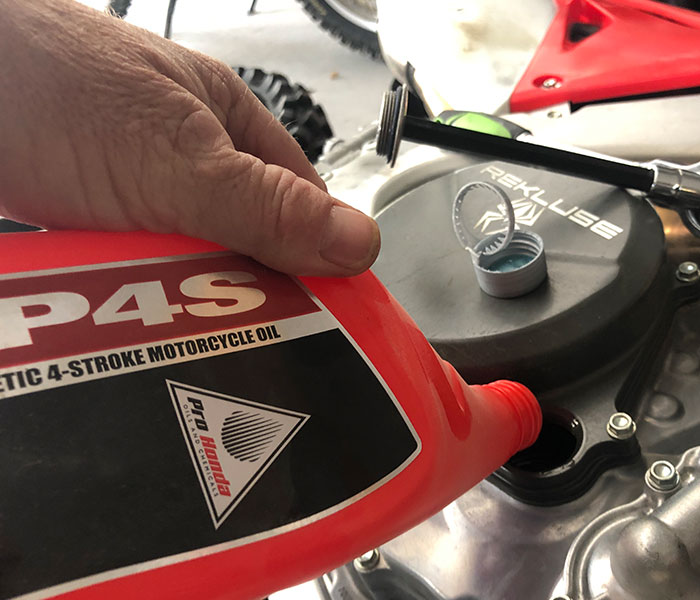
Crash repairs/user misuse:
Clutch Plastic Cover $75.00
Brake lever $36.00
Clutch lever $21.00
Broken parts/wear:
Clutch shaft bearing $4.00
Chain $n/a
Sprocket $n/a
Swingarm chain pad $74.78
Chain guide pad $25.95
Modifications:
IMS Large Capacity Tank $325.00
JD Jetting Power Surge 6X $239.95 https://jdjetting.com/product/jdhx06-honda-crf450x-19-efi/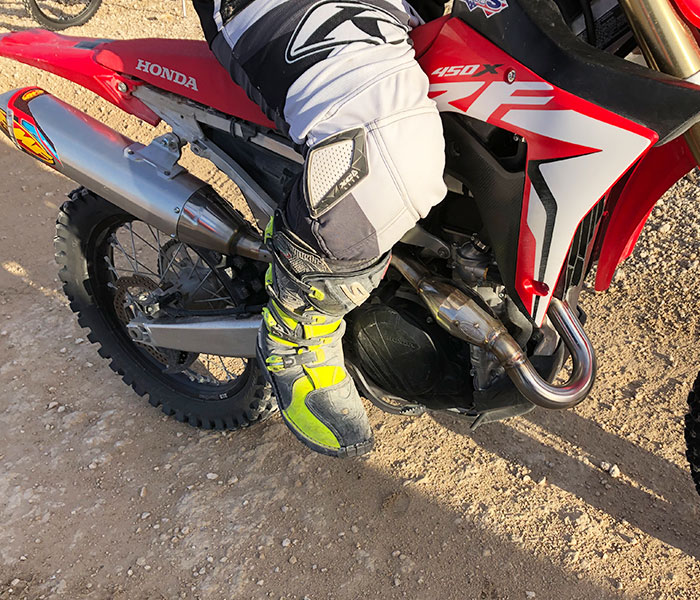
FMF Q4 $379.99
FMF Megabomb Header $274.99
Sunstar Works Z sprocket $99.95
Sunstar XTG O-Ring chain $114.95
Rekluse TorqDrive Clutch Pack $349.00
Rekluse RadiusX $629.00
Rekluse Radius CX $1019.00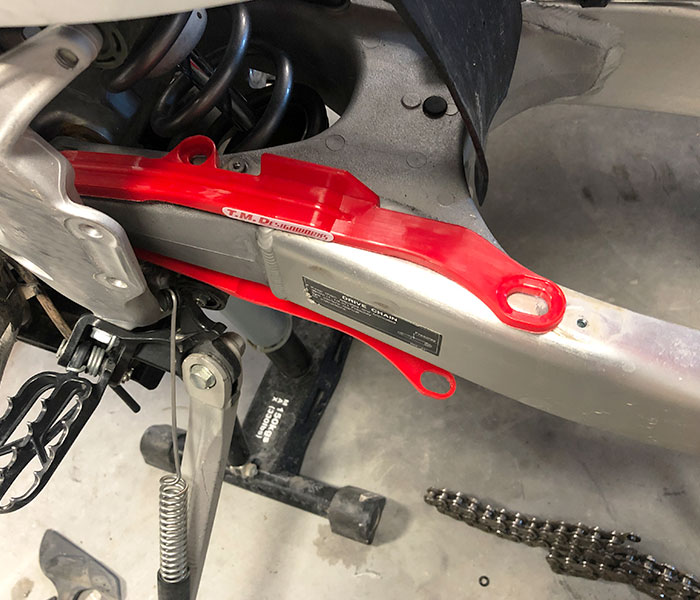
TM Designworks Chain Guide $74.95
TM Designworks Case saver $59.95
Tires Used:
Dunlop MX52 F&R
Michelin Starcross 5 Medium F&R
Dunlop AT81 F&R
Support DBT, Shop and search for products through the link below: