Two Stroke Performance TBi Power Kit
Company: Two Stroke Performance
Price: $820.00
- Simply incredible power gains and rideability.
- Fit and finish is second to none.
- ERM can be used as a diagnostic tool.
- Pairing the ERM device can be a challenge for those technologically challenged.
- 50/50 race gas is recommended with the high compression head at sea level.
What it is
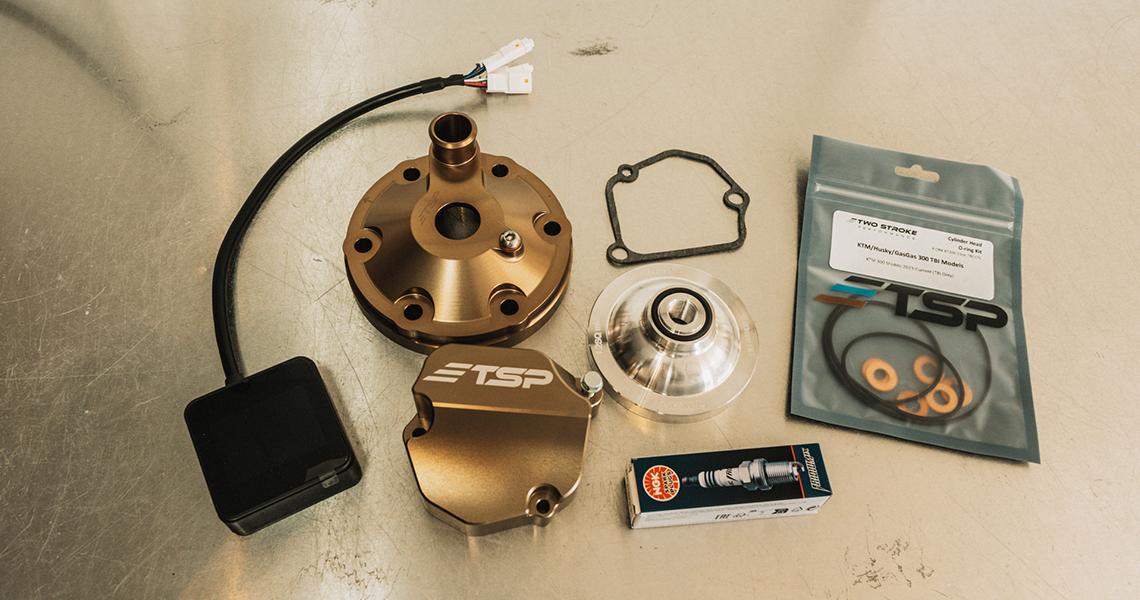
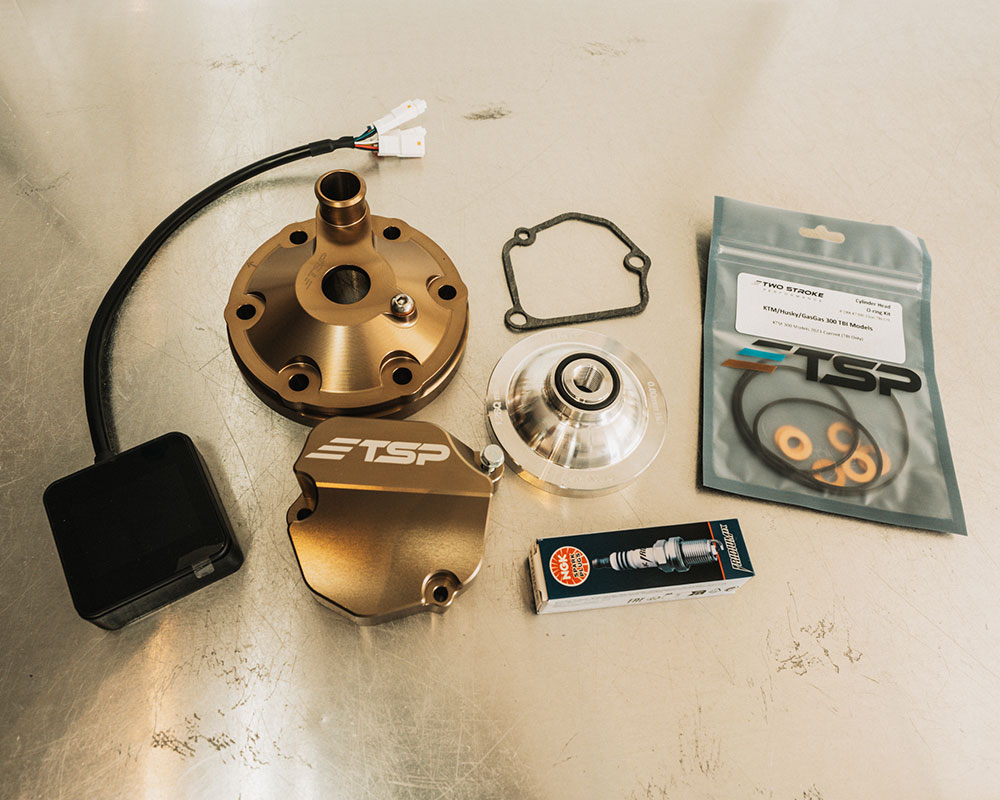
- Cylinder head and dome, o-ring and washer kit, spark plug, and ERM device are included.
- Additional oversized powervalve cover available separately.
Two Stroke Performance is a big player in engine mods for two-strokes and four-strokes alike. They cover the range, offering kits for carbureted bikes, TPi bikes, and now the “latest and greatest” TBi bikes. The Australian company offers an array of products for two-strokes, and South Bay Moto Performance, based out of Northern California, is the original distributor for TSP here in the United States and helped set us up with a complete Power Kit.
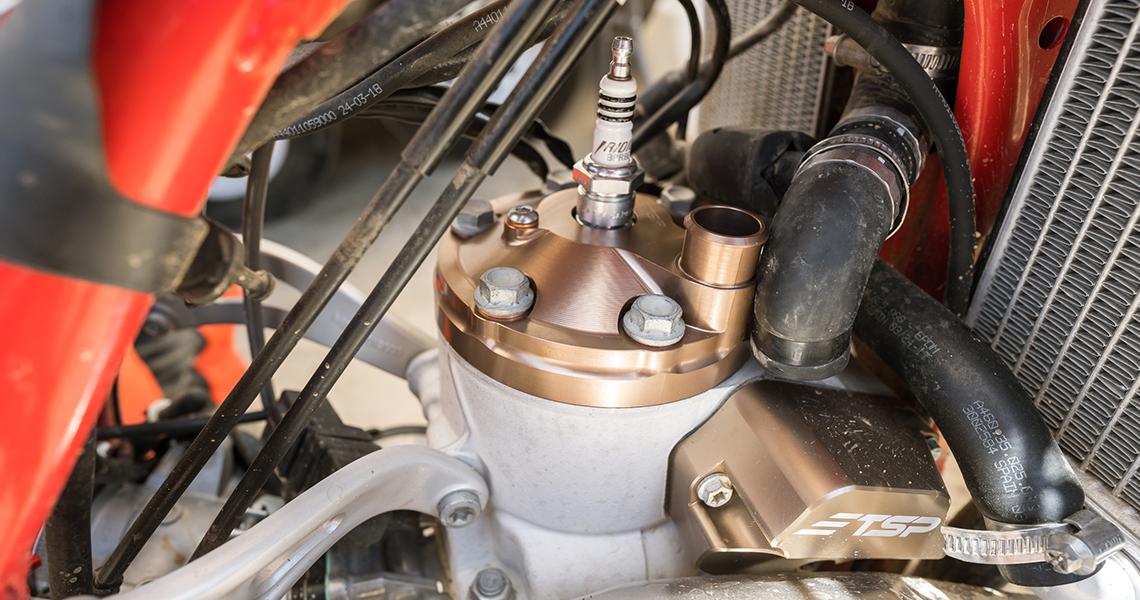
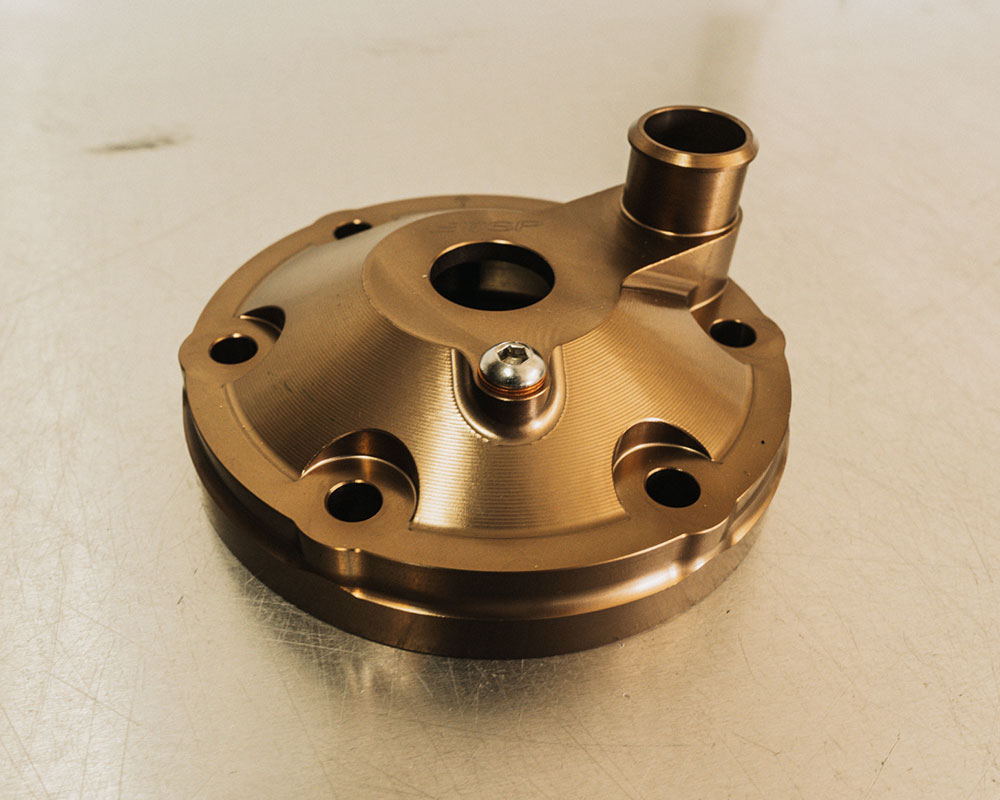
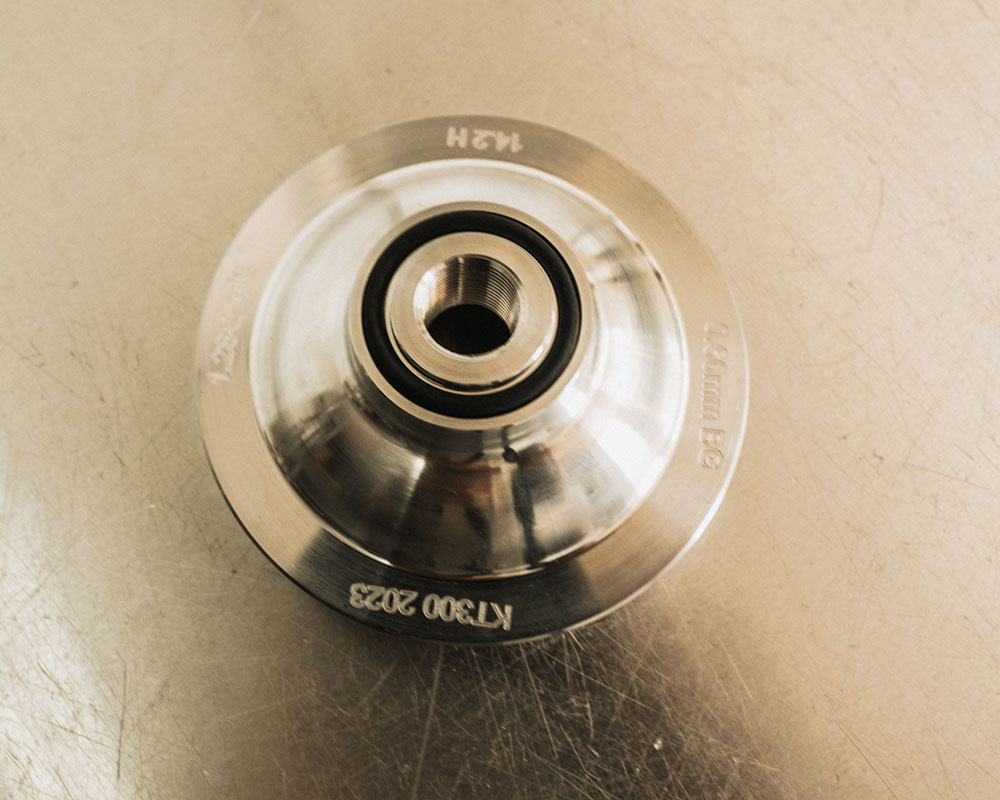
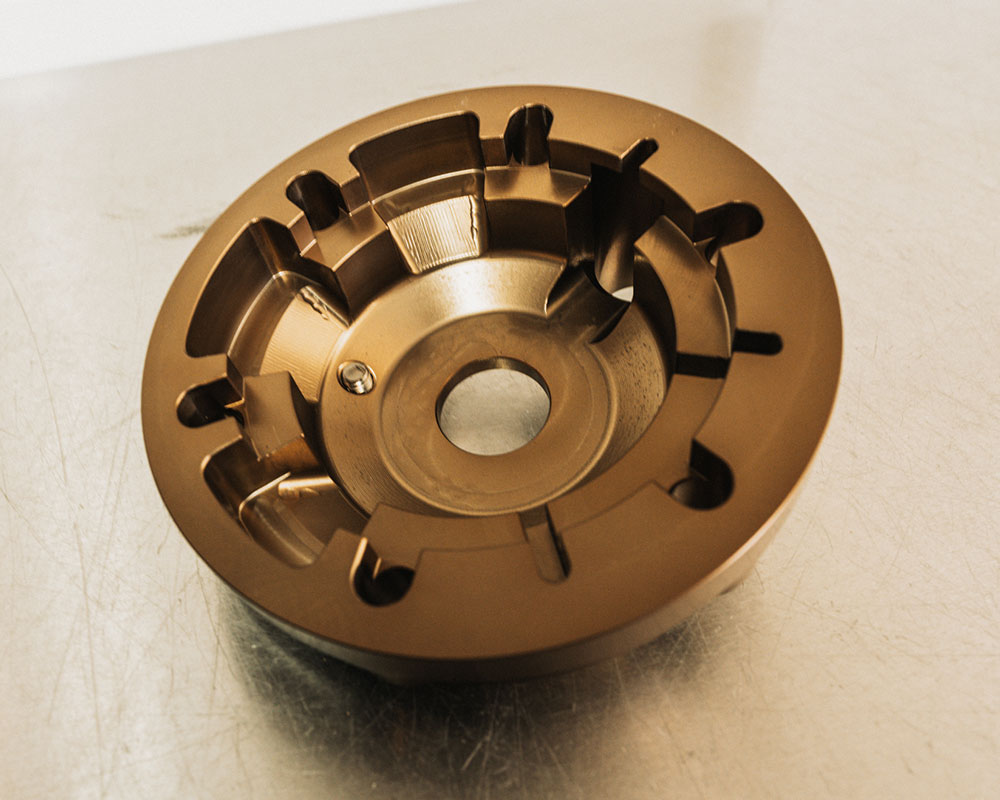
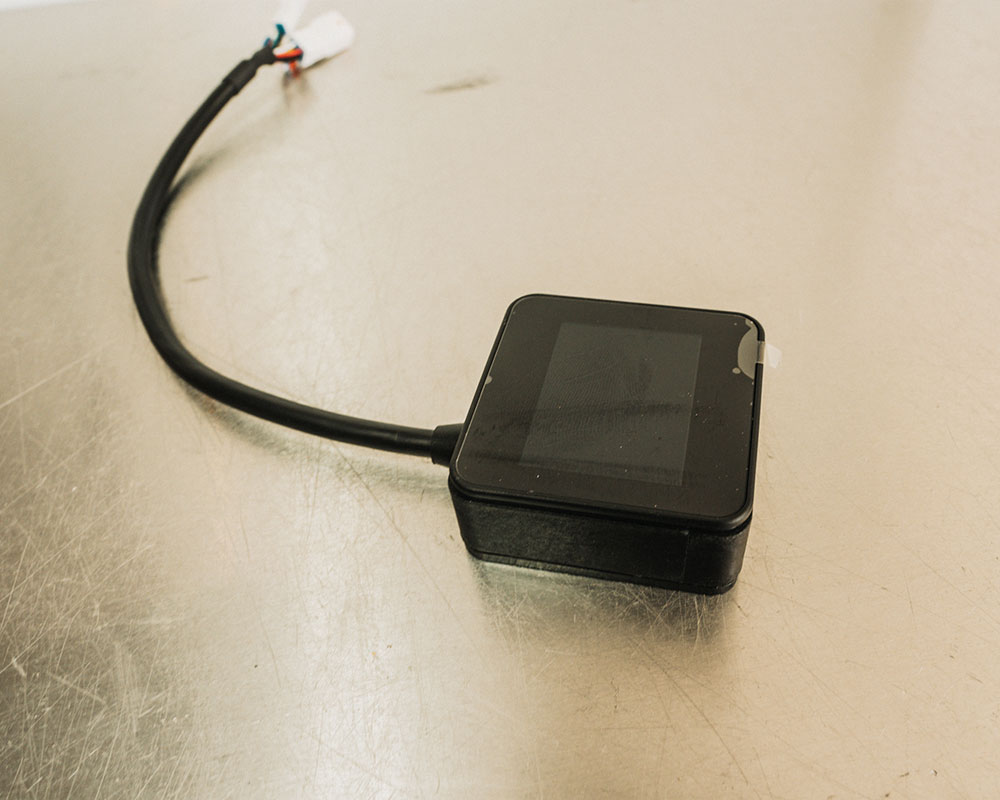
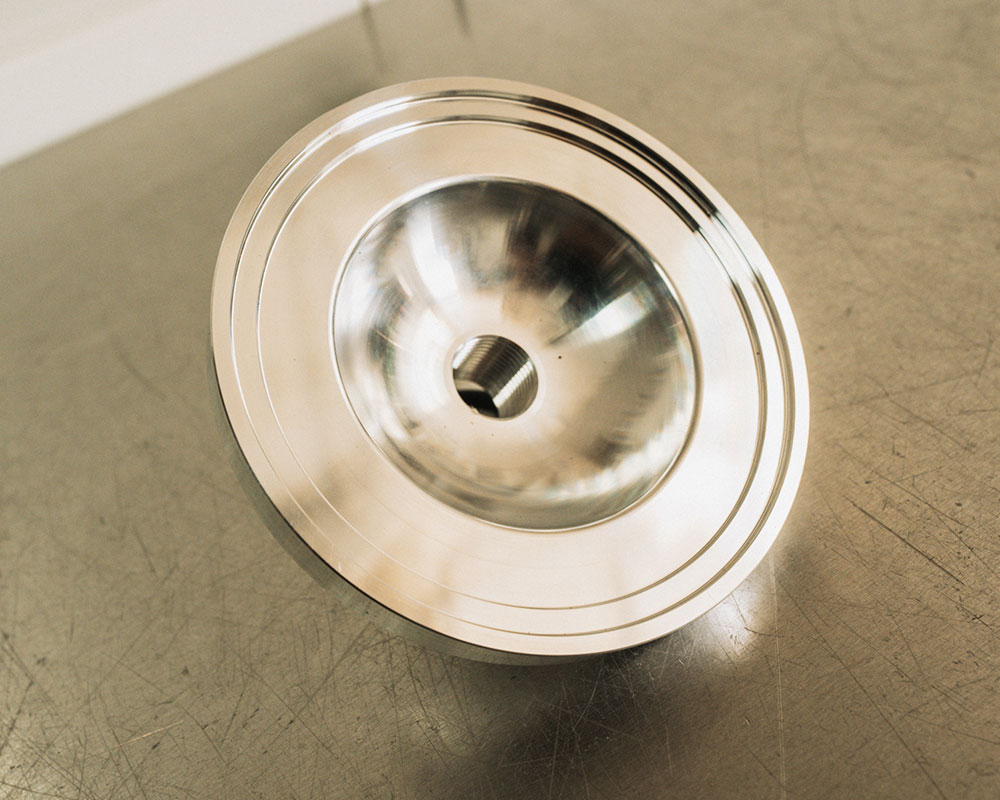
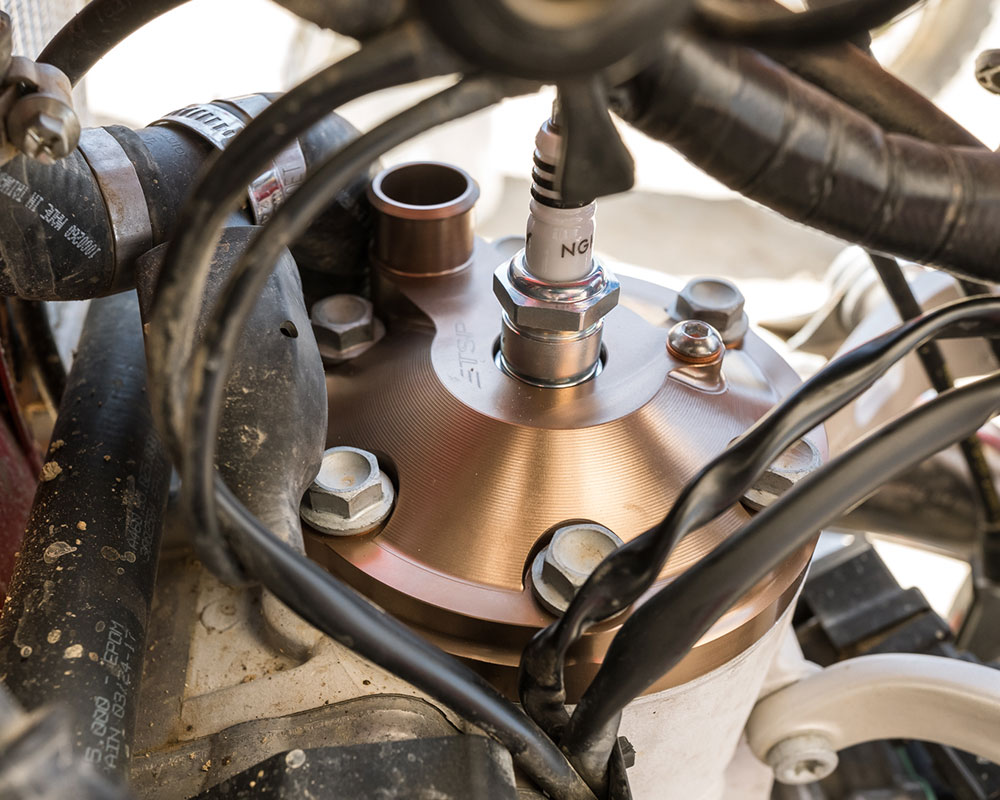
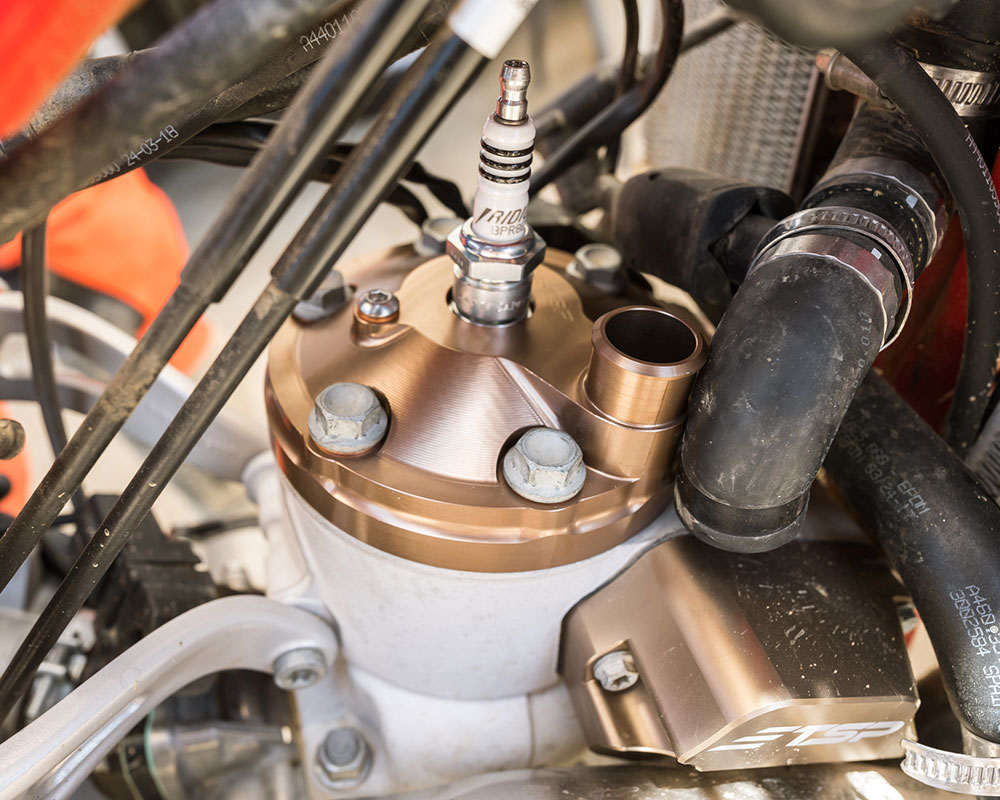
The TBi ERM Power Kit includes TSP’s proprietary ERM device, a billet head including a cap and insert, a head o-ring and washer kit, and an NGK iridium spark plug. The entire kit retails for $820.00, is available with either a Medium or a High compression head, and can be purchased in the US at SBMotoPerformance.com.
Note, we did test this kit with TSP’s Oversized Powervalve Cover, which we reviewed HERE, and is sold separately at South Bay Moto Performance for $120.00. Also, we ran 50/50 Sunoco 110 race fuel and 91 pump fuel mixed at 50:1 using both Motorex injector pre-mix and Maxima K2 Injector pre-mix.
How it works
- Increased power across the board.
- Smoother and more linear power from top to bottom.
- Improved rideability in all terrains.
To start, installation of the TSP ERM Power Kit is fairly straightforward and requires no special tools for the most part. You’ll have to remove all of the necessary parts to swap the cylinder head, but we feel the hardest part of this process is just draining the coolant! It’s important to note that when connecting the ERM device for the first time, you’ll need to have a strong WiFi connection to do so – only for the very first pairing. We weren’t able to use our phone hotspot at the track when doing this, though service at the track was also spotty, but we found it is best to pair the device at home to be safe. If you send your ECU in and don’t get the ERM device, then this step isn’t applicable.
To start, installation of the TSP ERM Power Kit is fairly straightforward and requires no special tools except for a torque wrench. You’ll have to remove all of the necessary parts to swap the cylinder head, but we feel the most difficult part of this process is just draining the coolant! It’s important to note that when connecting the ERM device for the first time, you’ll need to have a strong WiFi connection to do so—only for the very first pairing. We weren’t able to use our phone hotspot at the track when doing this, though service at the track was also spotty, but we found it is best to pair the device at home to be safe. If you send your ECU in and don’t get the ERM device, then this step isn’t applicable. For help setting up the ERM and resetting the TPS and powervalve, we used THIS VIDEO.
Note: South Bay Moto Performance recommends installing a new Crank Case Pressure Sensor when installing the kit if there is a considerable amount of time on the engine and/or performing a top-end rebuild. Over time, the sensor degrades and sends mixed signals to the ECU, which affects the bike's performance. The OEM part (PN# A45041075000) retails for $50–60 depending on where you buy it (SB Moto sells it for $55 on their site).
When we first reached out to South Bay Moto Performance about acquiring this kit, they wanted to set us up with a high-compression head and an “aggressive” MX tune. While we didn’t disclose this to them since we wanted to test what they felt was best for us, we were truthfully a bit nervous if that’s what we really wanted. After all, this mod is going on an off-road bike, and we often preach that “slower” bikes are easier to ride and more suitable in most conditions. Regardless, we took their advice and went with what they felt we should test. This also mandated the 50/50 race gas mix that we are running here at sea level.
First, we bolted the Oversized Powervalve Cover on as our first step in this three step process. You can read our in-depth Product Test about the cover HERE, but in short, it added torque and helped fill the hole down low off idle slightly—ultimately making it easier to ride as the transition from bottom-mid wasn’t as abrupt and we could lug the engine better.
Next, we bolted the full kit on, though we left the stock map in the bike for the time being to see how big of a difference just the cylinder head made. And what a difference it made. From the first time we hit the dirt, the power gains were noticeable and effective. Immediately, the transition off the bottom and into the mid-range was cleaned up and much more linear with a lot of torque and smooth pulling power. On top, we felt it still signed off earlier than we’d like, but the gains down low were more than impressive. We followed this up by plugging in the ERM and running the “White” or “Mellow MX” map. This map enhanced everything that the parts alone did and brought the engine up to another level with more torque and low-end performance, a strong mid-range, and brought gains up to the top end where the power was really lacking previously.
Lastly, we opted for the “Green” or “Aggressive MX” map, and despite our fears of the engine being too much to handle, the aggressive map turned out to be our favorite map for nearly every rider that swung a leg over this bike. The bike revved through the range quicker, pulled harder, and pulled much further on top than any of the other maps, all of which were positive for what we were looking for. Additionally, we could corner and pull third gear while staying completely off the clutch, instead relying on the engine to build the power itself as it pulled it no problem with our 14/51 gearing.
In the aggressive map, we feel we lost a small amount of torque down low, which we missed in more of a trail riding or enduro application. But, if you have the mapping switch on your bike, you can toggle between the two on the fly and have the best of both worlds. We will continue to play with the ERM tool and adjust fuel, ignition, and powervalve timing to see if we can improve their stock maps, but the mapping alone paired with the power kit is one of the best upgrades you can do to these bikes.
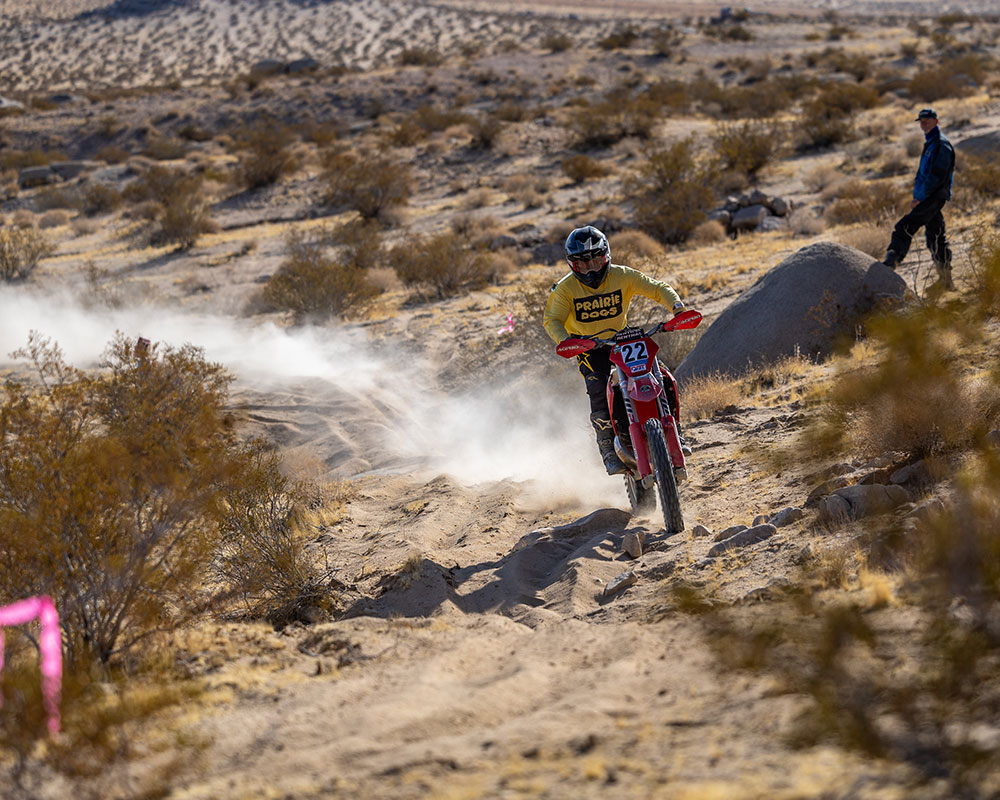
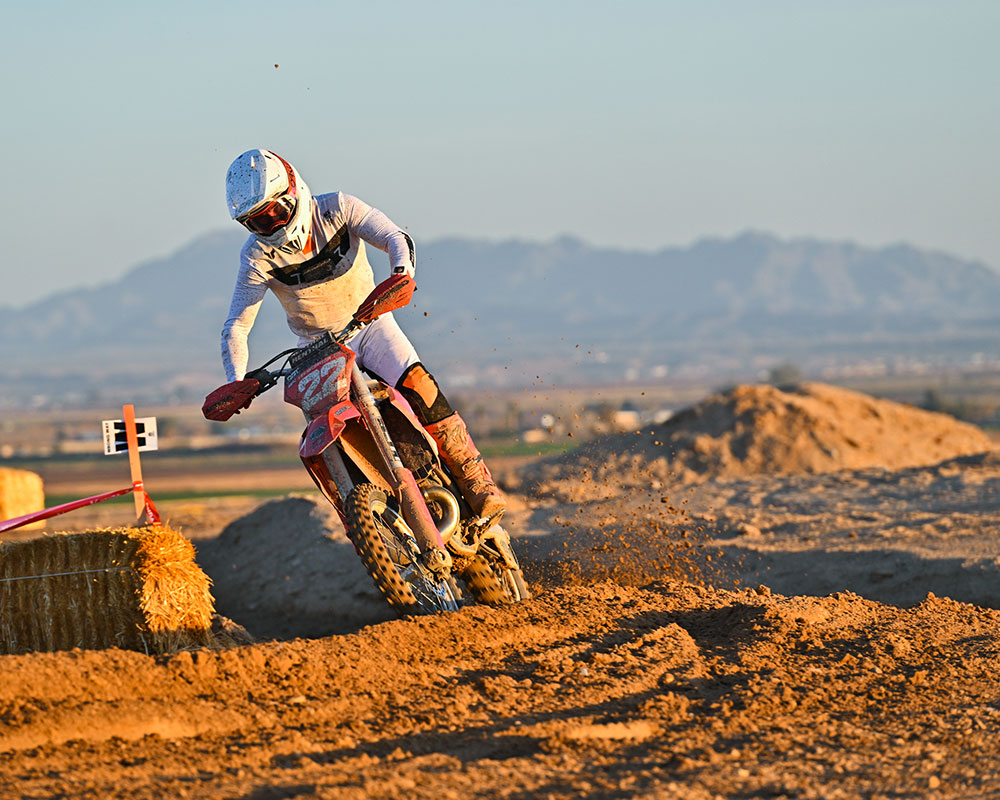
As we said earlier, we were nervous about running the high-compression head and an aggressive motocross map. In stock trim, the Gas Gas EX300 had a tendency to be difficult to ride at times. The transition from the bottom end into the mid-range could be abrupt for some riders and whether we were on a motocross track or in the rocks, we found it upsetting our rhythm and making things more difficult than it should be. With this kit, yes it adds power. But, more than anything, it made the power more rideable and easier to use across all terrains.
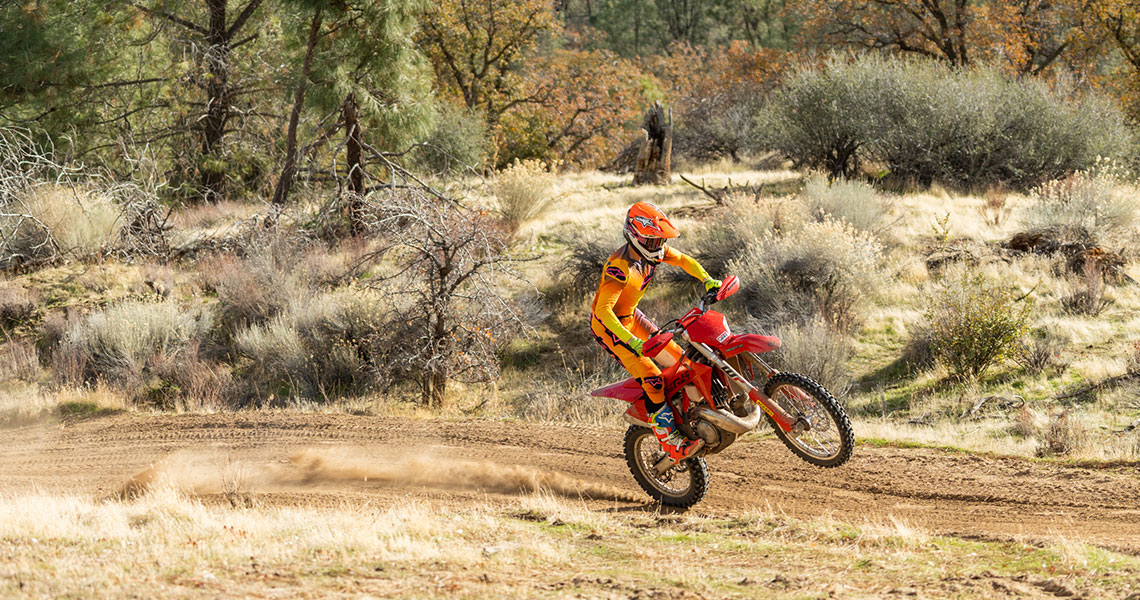
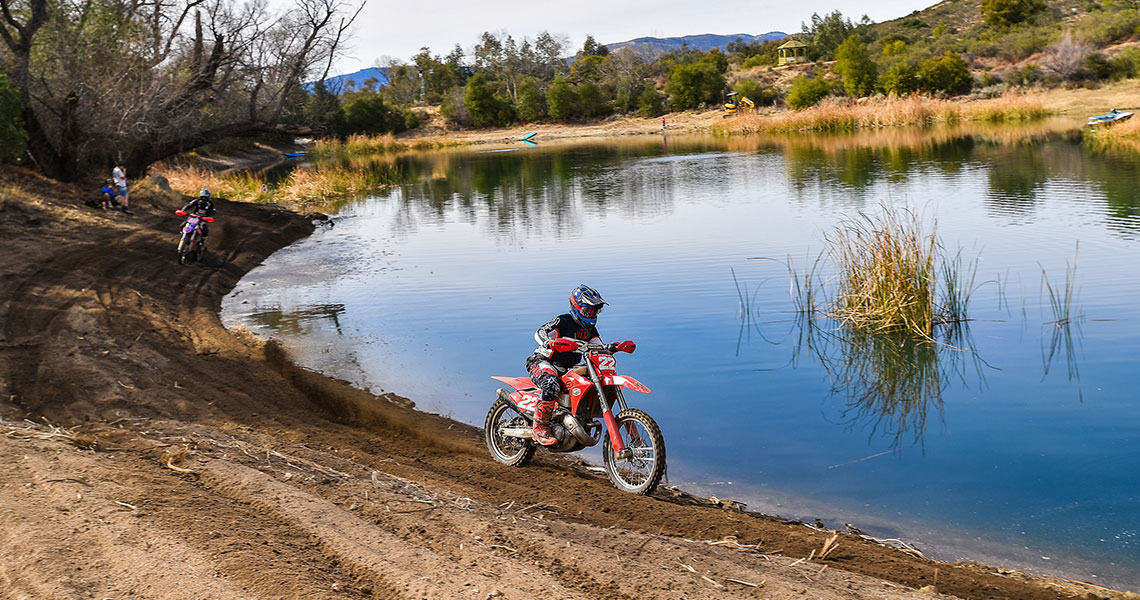
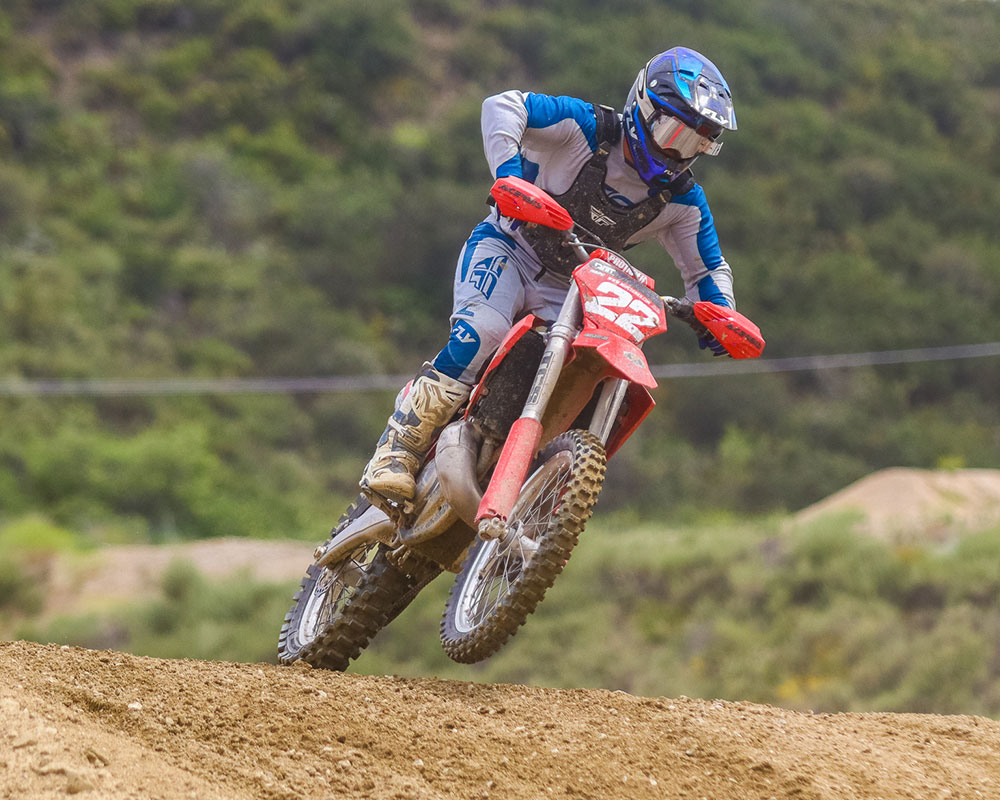
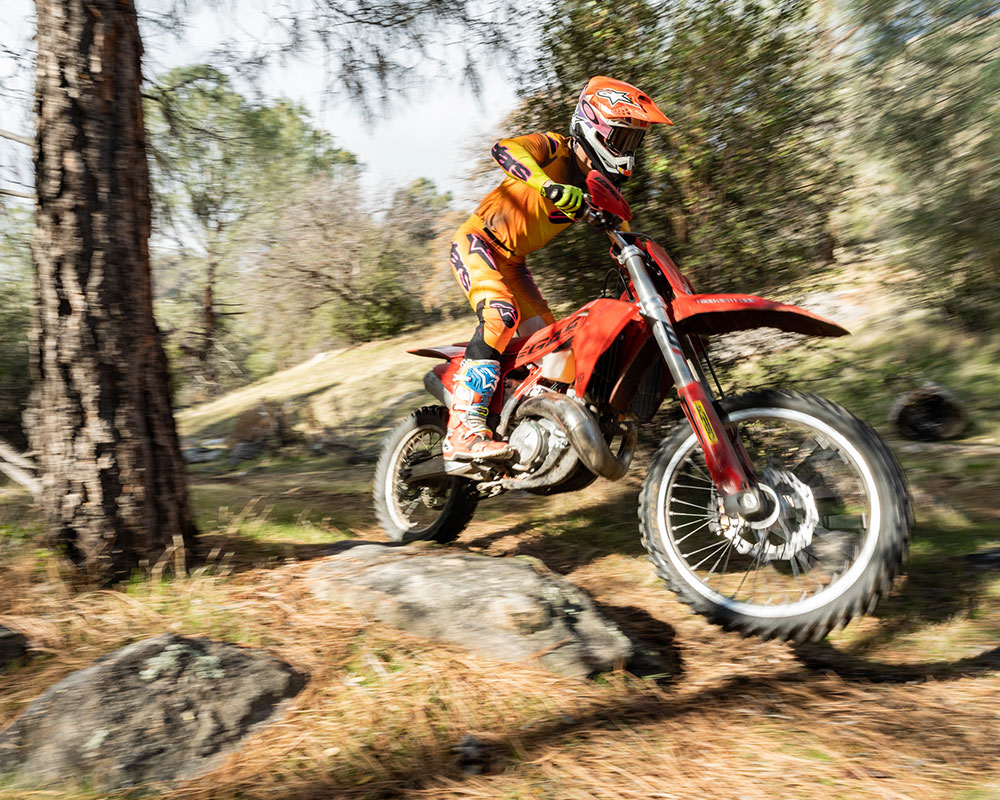
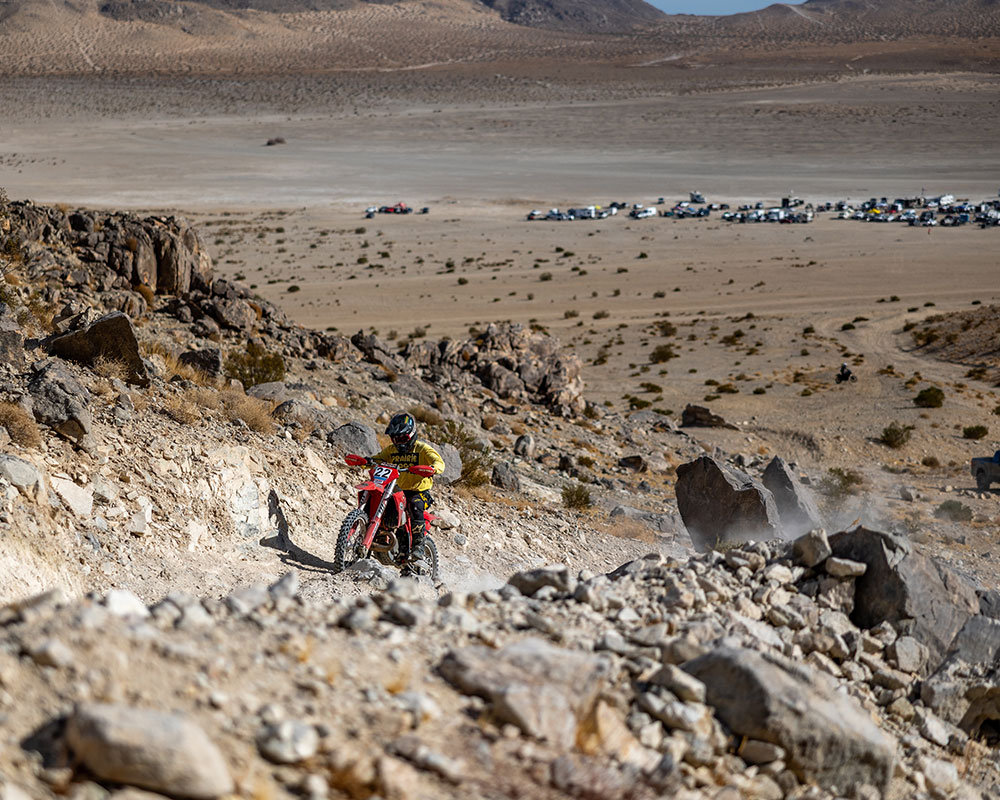
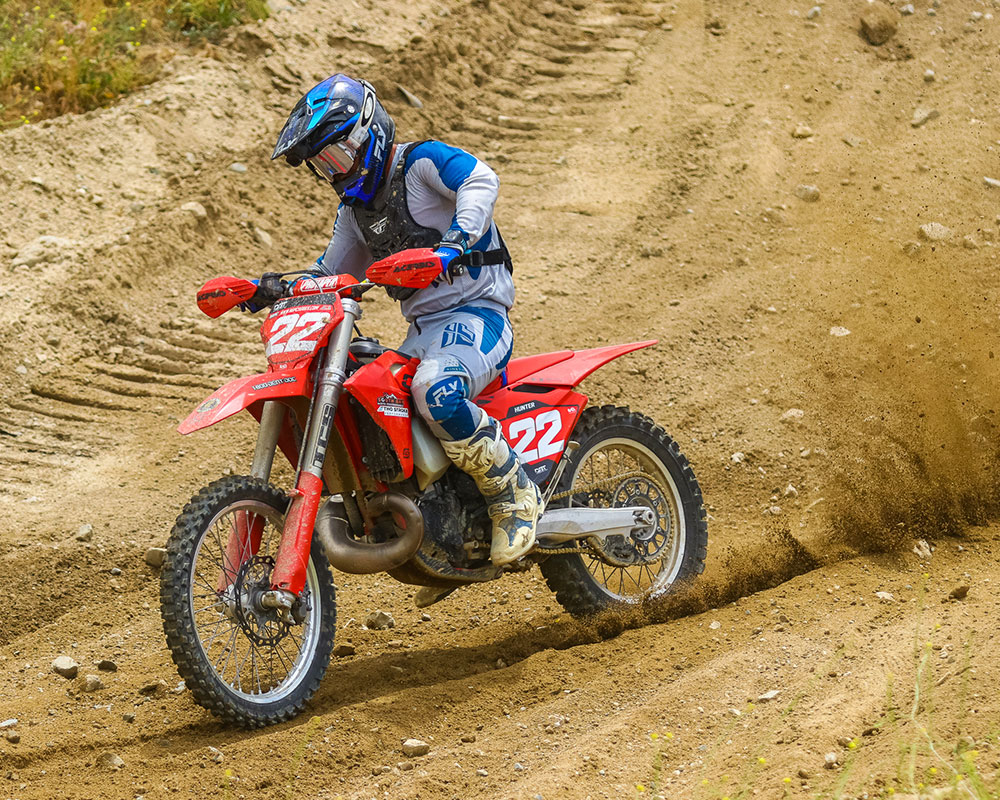
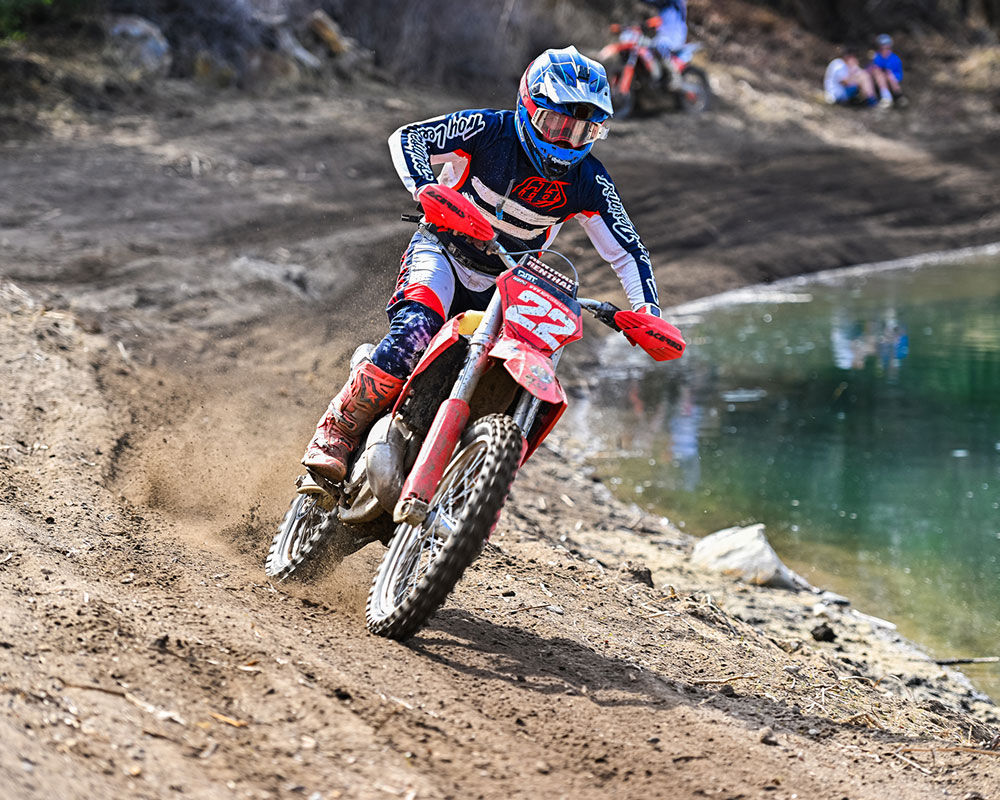
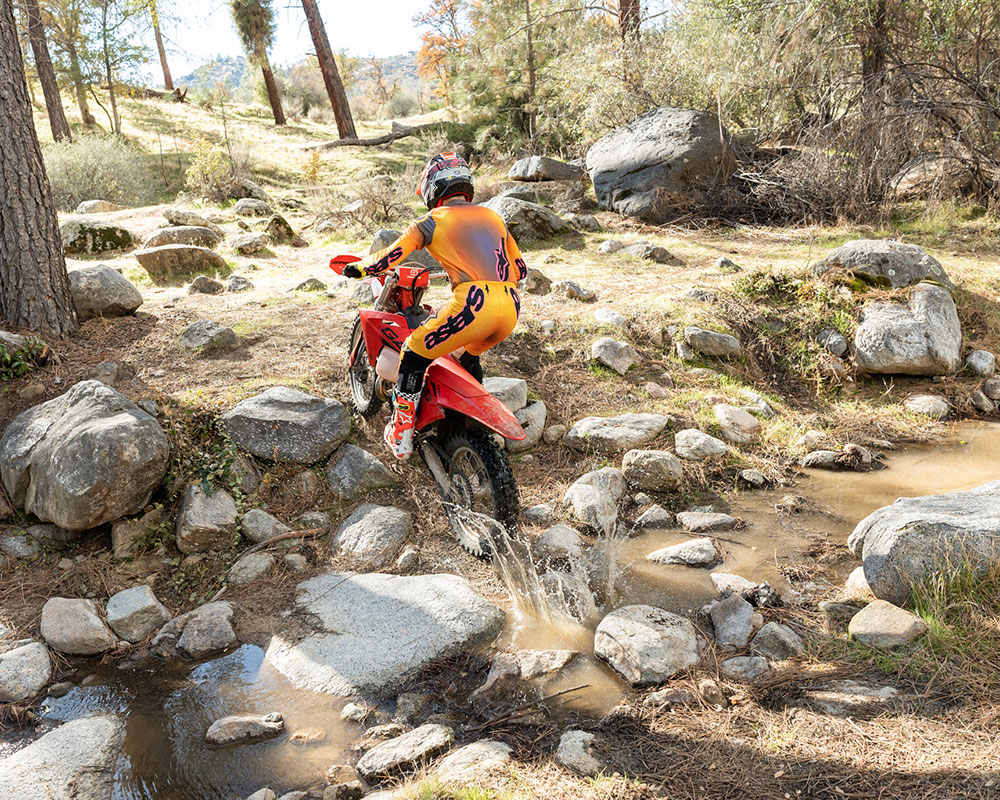
From top to bottom, the delivery is linear, full, and puts the power to the ground effectively. It doesn’t rip our arms out, it doesn’t spin the rear tire (unless we want it to), and it doesn’t make it any less enjoyable to ride. We have yet to have someone ride this bike and not be at least slightly impressed with the changes, if not blown away by how good the engine now runs. Two Stroke Performance prides itself on creating rideable power, and this kit exemplifies that to a T. We’ve ridden this bike on a motocross track, raced it in some GPs, and ridden very technical, even borderline hard enduro trails, on the bike and no matter where we took the bike, it remains very rideable and usable.
This power kit did everything we wanted it to do with the engine on our 2025 GasGas EX300. It also did everything we didn’t know we wanted it to do on the engine. The 300 xc-style TBi engine is a very good base to start with, but the TSP kit brings out the best in it and is almost unanimously the best two-stroke engine our entire crew of testers have ever ridden. It has that two-stroke feel and excitement, but very close to 450cc power output. In a drag race or up steep hills, a fast 450 will still pull the bike, but corner to corner and in most scenarios, you really aren’t giving up much to your bigger bore competitors. Plus, you’re on a two-stroke with the biggest smile on your face—that can’t be beat!
Durability-wise, we’ve put nearly 20 hours on the engine with this kit installed, and our bike now has over 55 hours total with no tear-downs yet. South Bay Moto Performance will go ~60 hours on a top end with the high-compression head with higher-level expert/pro-level riders onboard, and up to 80–100 hours on a top end for amateurs and trail riders. Of course, this is with regular maintenance, keeping dirt out of the engine, etc.
South Bay Moto Performance recommends 50/50 race gas for high-level expert/pro-level riders under harder conditions like sand, wide-open desert, etc. The ERM device does allow you to add fuel and change the tune for the conditions, which if you don’t have race gas or are riding in different conditions, is a big positive to be able to change and accommodate.
Additionally, being that this kit is for 300s and how popular they are for trail riding, South Bay Moto Performance states that for every 1000 ft of elevation gain, you lose ~3% compression. At 5000 ft, the high-compression head will have the same compression as the medium-compression head would have at sea level (-15% from high comp). For those that are riding at higher elevation, you won’t need to worry about running any race gas. We spent a week in the Colorado high country riding at 10,000–13,000 ft on pump gas with zero issues.
In our testing, we’ve received a lot of questions regarding how important the power kit is vs. just getting the ECU tune. We tested the parts in order of power valve cover, then head, then ECU tune. We feel the cylinder head made about 60% of the gains felt vs. the ECU tune was about 30–35% of the gains, with the powervalve cover completing the package. The head design is claimed to increase compression moderately while tightening up the squish. The redesigned dome insert is supposed to allow for smoother, more linear power delivery for better ridability and putting it to the ground better. If you’re on a budget, South Bay Moto Performance and TSP do offer just the dome insert by itself without the billet head. The benefits of having the billet head are claimed to be that it’s slightly stronger (which even SB Moto says isn’t its real selling point), and it also allows for slightly higher cooling capacity. The head and dome, including the gasket kit, retail for $320, while the dome and gasket kit retail for $170 total.
As far as the ERM goes, the stock tunes that TSP provides are very good as they come, and while we can likely make gains with the tuning capabilities, we feel most will be content with the stock maps provided. That’s not to say that there aren’t gains to be made. And some riders like to tinker and adjust for the fun of it. Don’t get us wrong, there is a lot of value in the mapping aspect of the ERM device.
However, what really sets the ERM apart and makes it invaluable is everything else that it does. It’s a diagnostic tool that can read and clear codes, check and set TPS voltage, reset your powervalve, and so much more. While you do get the benefits of being able to switch and adjust maps with the ERM, we found more of a benefit in a tool in ensuring our bike is running properly at all times. The ERM, which retails for $500 by itself including a TSP tune, is part of the kit or can be purchased separately. If you’d like to save on the tool, you can ship your ECU to South Bay Moto Performance and they can flash your ECU with the map of your liking for $300.
If you do decide to go with just the tune (either ERM device or ECU reflash), the stock spark plug is sufficient. However, once the TSP head and/or insert is installed, you must use the iridium spark plug that TSP recommends and is also included with the full kit.
For those that are running higher-octane fuels, some faster and more aggressive riders have felt that it leans the Green or Aggressive MX map out. Try adding fuel to the green map for more torque and more pulling power. We’ll include a copy of the adjustments we made to our map once finalized.
When placing your order with South Bay Moto Performance, mention Dirt Bike Test to help support us and to bring you more tests like this.
Rider Opinions
Leave a Reply
