Rebuilding Big Red
Story by Brent Farrell, Photos by Trevor Hunter
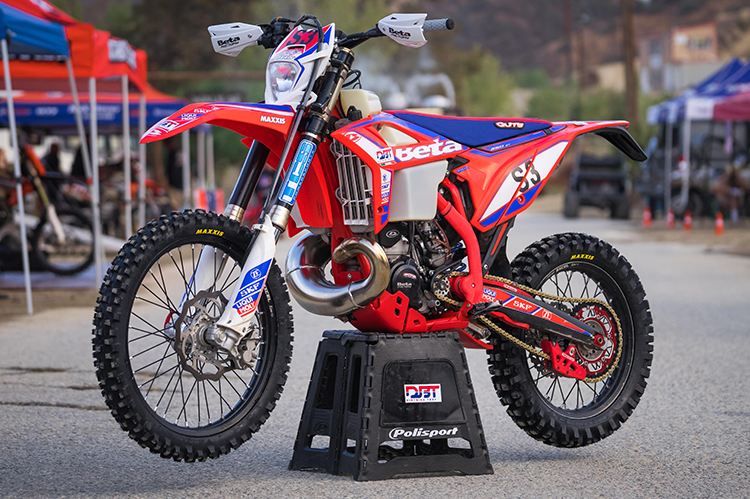
The new Beta is a solid package. It’s well put together with quality components. The counter balanced engine, electric start, and tool-less air filter access(a big improvement over the one on the 2017 430 RR-S), make it feel modern and well thought out. As the name implies, the Beta Race Editions are the most aggressive off-road bike in their line up and they’re a slightly different build than the standard option. KYB forks are the most notable change as well as the elimination of the oil injection system for the 2-strokes (it can be added though). Our pre-race testing included some desert two-track, a grand prix race, and two motocross track days, all in the span of about ten days. While the Beta 250 RR does live up to its name, Our initial impression was that it was better suited to technical enduro competition and trails over the higher speeds and rough terrain of typical California grand prix racing. After our testing, we were very impressed with the power and ergonomics, but also realized we would need to make a few adjustments before the event.
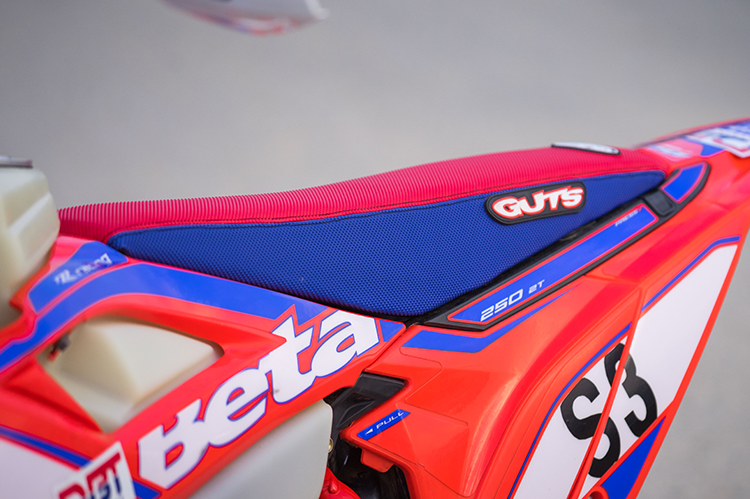
Suspension changes were in order but the first comment from everyone was regarding the seat. It’s rock hard, and this is coming from a rider that likes to sit on a seat not in it. The Beta seat is too hard to be comfortable for a short ride. For 24 hours, it would be torture. We contacted Guts Racing and they had seat foam and covers in stock. Lucky for us since the race was only a few days away. We chose their medium density 30mm taller foam and a cover that matched the stock seat. It was a huge improvement in comfort and even riding position with the taller foam. It gave it a very flat platform that was easy to move around on and opened up the rider triangle.
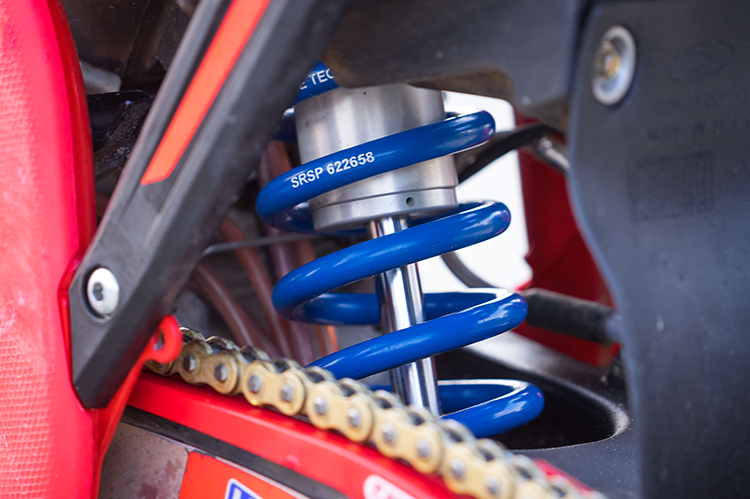
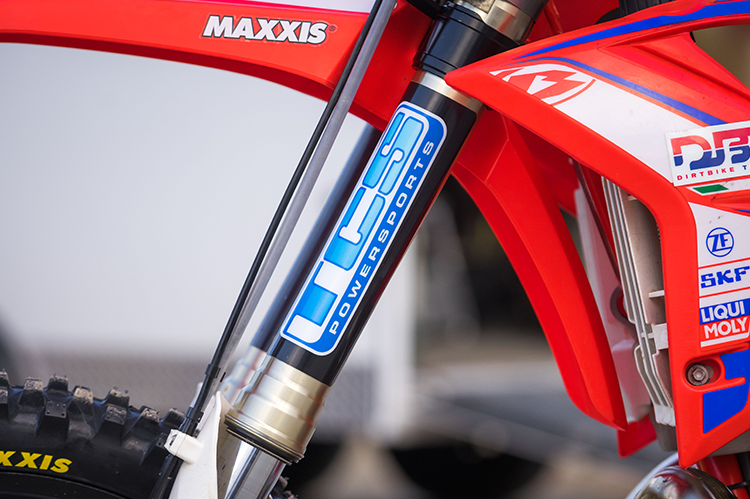
As for suspension, we started by installing stiffer springs front and rear and that helped, especially since more than half our team was well above average weight. We still didn’t feel completely comfortable as we rode it more aggressively and at higher speeds so we had TCS Powersports do a revalve with a goal of retaining the plushness that we liked but increasing the dampening enough to hold the bike up in the stroke through the rough conditions we would see at Glen Helen. After a test day at Glen Helen, mission accomplished.
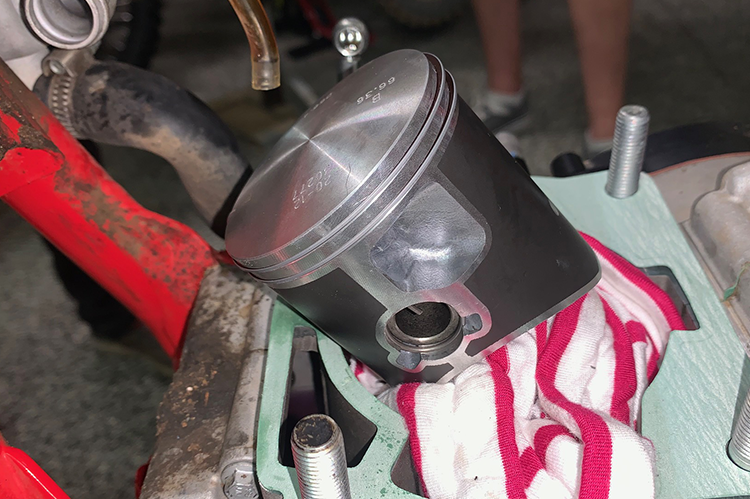
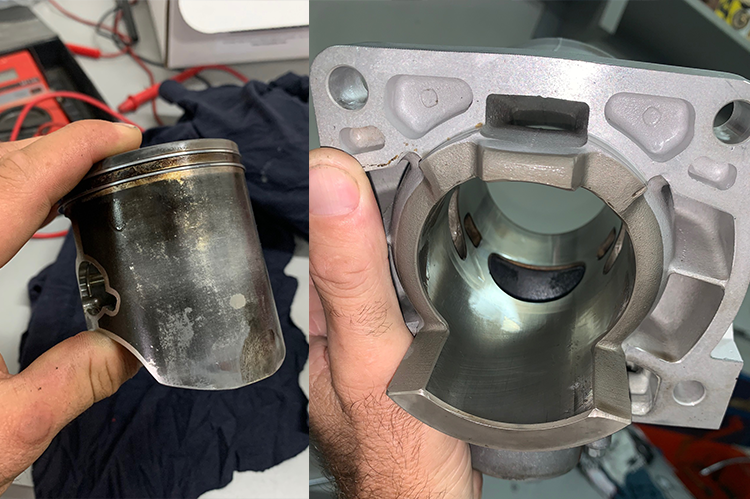
Next, we needed to focus on the mechanical side. The bike had already been through some testing when we picked up and had 78 hours on the meter. Generally, it was in good shape though, so we just installed a few basics before entering a race of this nature. A new top end, new clutch plates, a chain, sprockets, and brake pads did the job. Surprisingly, the top end was still in pretty good shape for nearly 80 hours of riding. The cylinder didn’t look bad, but the rod had a tad of play in it. We didn’t put the first 78 hours on the bike so we can’t speak to what kind of maintenance was involved or how the bike was ridden, making it tough to say if the rod wear was premature or right on par.
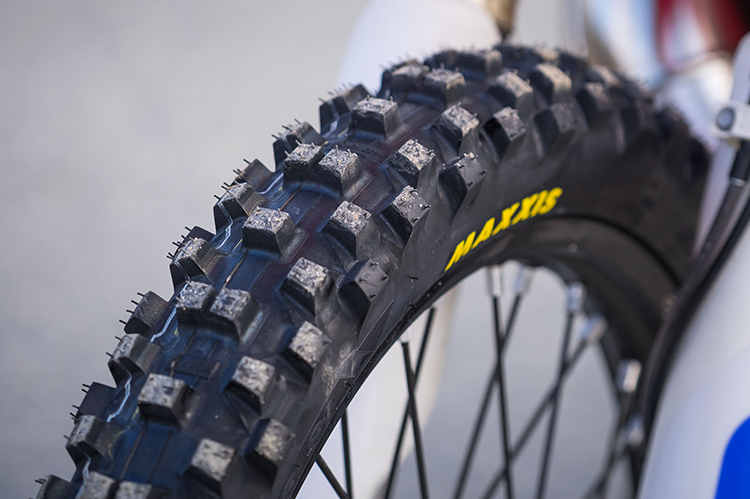
For tires, we choose Maxxis Maxxcross IT’s in the back and Maxxcross SI’s in the front. The Maxxis tires worked great and wore even better. Using a harder intermediate tire in the back and the soft intermediate in the front allowed us to run one set of tires for 12 hours and do a single wheel change at the mid-point of the race. One challenge was that we couldn’t find a spare rear wheel. After exhausting all options, we got a little creative. There are certainly some design similarities with a KTM so we did some careful measurements and found a KTM rear wheel using older wheel spacers for a 20mm axle would mount right up if we cut a little over 2mm off the brake side spacer. A few minutes with a lathe and we had the KTM wheel installed on the Beta.
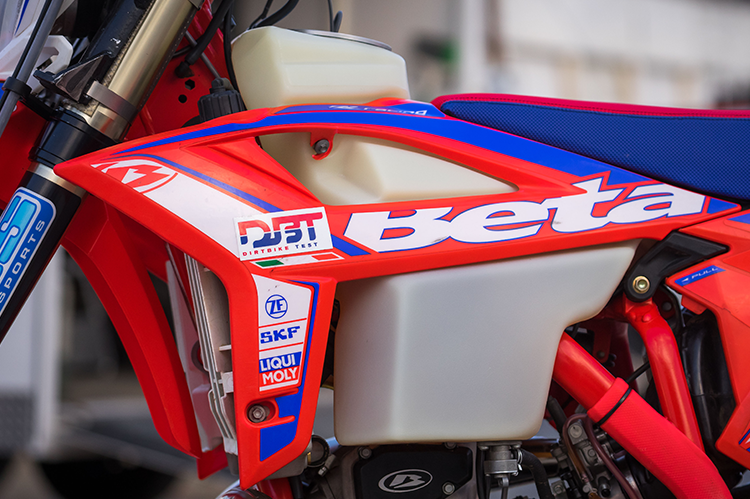
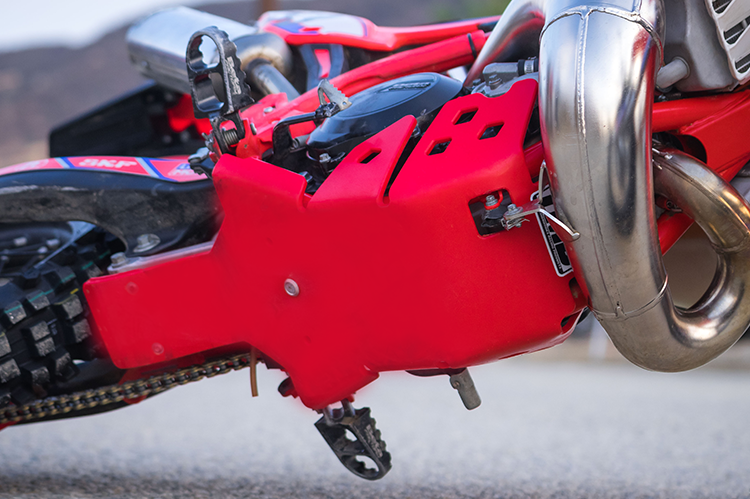
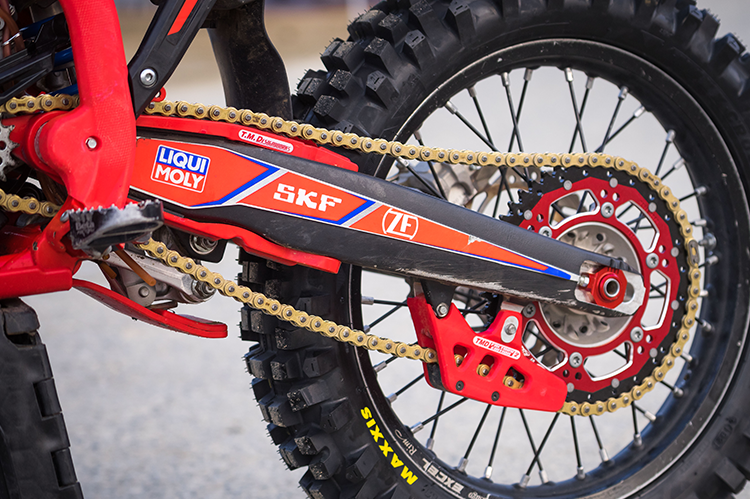
Next, we added an IMS tank and dry-brake to cut down on the time in the pits. That meant relocating the ignition map selector that sits in the plastic cover on the stock tank. The tank kit includes a bracket to mount it on the bars but there’s not a lot of room, so we used some good quality double sided tape and stuck it to the frame just in front of the tank, pretty close to the stock position. To protect the bike from rocks and other abuse, we added a full coverage skid plate, chain guide and chain slider from TM Designworks. Those have proven to be extremely tough and perfect for an endurance event.
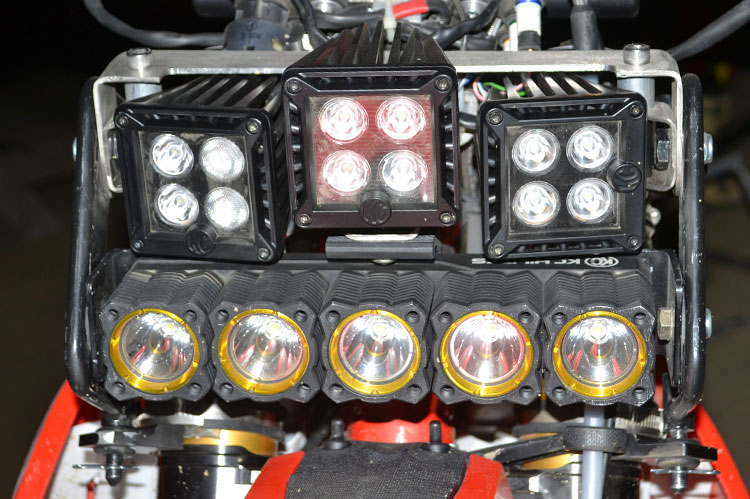
For lights we hoped to take advantage of the stock stator but couldn’t get the needed power out of it. We looked around for a high output option, but none existed, at least off the shelf. The electrical components are pretty similar to other bikes, so it probably wouldn’t take much to get a stator built but as we were running out of time, and to keep it simple, we decided to carry batteries on the rider to power our 110w light rather than power the lights off the bike.
